


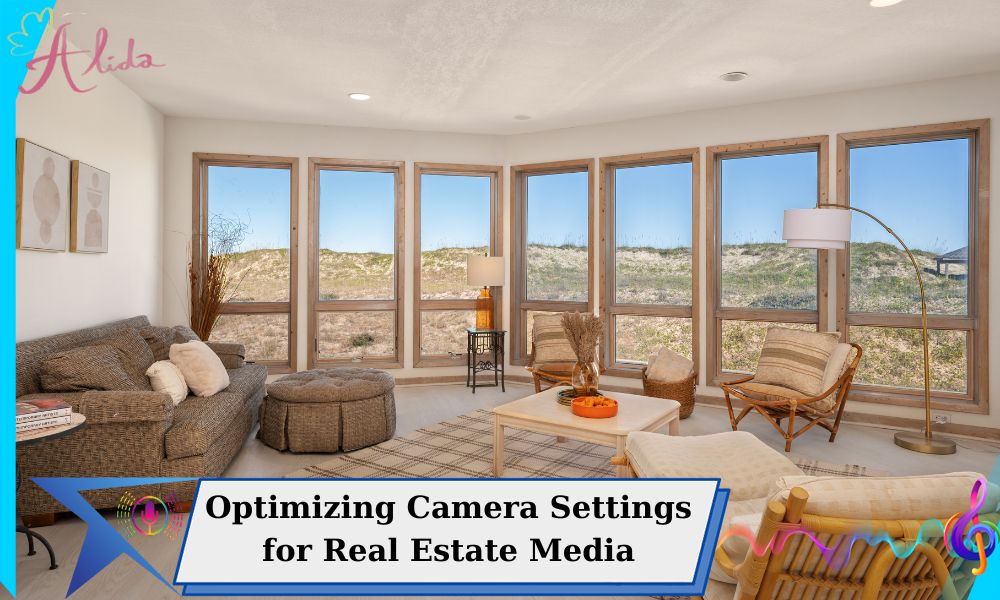
In real estate media, capturing high-quality images starts with proper camera settings. The right setup turns ordinary photos into eye-catching visuals that make properties shine. While real estate media editing in Photoshop can improve these images, a well-captured photo reduces the need for extensive editing, providing a solid base for beautiful, polished results.
Why Camera Settings Matter for Real Estate Media
Real estate photography aims to showcase a property’s best features with clarity and vibrancy. Proper camera settings ensure accurate exposure, focus, and color balance, making post-production editing easier.
HDR Camera Settings for Real Estate Media
One of the most effective techniques for real estate photography is High Dynamic Range (HDR) imaging. HDR allows photographers to combine multiple exposures of the same scene to capture details in both dark and bright areas. This technique is crucial in real estate photography, where lighting can be uneven across different areas of a property. To master HDR, consider the following camera settings:
- Aperture Priority Mode: This mode allows you to control the aperture, ensuring a deep depth of field. A small aperture (high f-stop number) ensures everything in the scene, from the foreground to the background, is in focus. Aperture Priority is especially useful in real estate photography to capture the entire space in sharp detail.
- Shutter Priority Mode: This mode gives you control over shutter speed, which is important for freezing motion or capturing longer exposure in low-light conditions. For HDR images, using slower shutter speeds can help gather more light and avoid underexposure.
- ISO Settings: Lower ISO settings (100-400) reduce noise in your photos, producing cleaner, sharper images. However, when shooting in low light or using slower shutter speeds, you may need to increase the ISO to maintain proper exposure. Balancing ISO with aperture and shutter speed is crucial in HDR real estate photography.
- Bracketing: Exposure bracketing is a technique that involves taking several shots at different exposures (underexposed, properly exposed, and overexposed). When edited together in Photoshop, these images create an HDR photograph that captures the full dynamic range of a scene, preserving both highlights and shadows.
Using Flash and Lighting for Property Photography
While HDR photography is incredibly useful, there are situations where additional lighting is necessary to balance out shadows or illuminate dark areas of a property. This is where flash and other artificial lighting sources come in.
- When to Use Flash: Flash should be used in situations where natural light is insufficient, or the property’s lighting is uneven. For instance, shooting interior shots at night or in low-light conditions often benefits from added flash.
- Flash Settings for Natural Light Effects: To ensure your flash lighting appears natural, adjust the flash intensity and position. The goal is to light up dark areas without creating harsh shadows or overexposing parts of the image. Softboxes, bounce flashes, and diffusers can help create more even, flattering light.
- Adjusting Flash for Various Lighting Conditions: When shooting real estate, the lighting can vary greatly from room to room. In a well-lit living room, you might need minimal flash, while a dim kitchen may require more power. Always assess the scene and adjust your flash settings accordingly.
Camera Settings for Real Estate Media Production
Real estate photography isn’t limited to still images—videos are becoming increasingly important for showcasing properties. When capturing real estate videos, the settings you choose for your camera can make a significant difference in the final output.
- Shutter Speed and Aperture for Video: For smooth, cinematic footage, a standard rule is to set your shutter speed to double the frame rate. For example, if filming at 24 frames per second (fps), set your shutter speed to 1/50 to achieve natural motion blur. Adjust the aperture to control the depth of field and let in the right amount of light.
- ISO and White Balance for Consistent Lighting: Like in still photography, maintaining a low ISO is crucial for reducing noise in video footage. White balance should be adjusted based on the lighting conditions of the scene to ensure the colors in the video appear accurate.
- Using Flash and Artificial Light in Video: Just as in still photography, flash and additional lighting can be used to enhance real estate videos. However, it’s important to ensure that the lighting is soft and evenly distributed to avoid harsh shadows or uneven exposure.
Conclusion:
Great real estate photography starts with proper camera settings and techniques like HDR, exposure bracketing, and flash use. For further enhancement, Alida Team offers professional photo editing to highlight your images’ best features. Contact us at photonews121@gmail.com to elevate your photography.