


Understanding RAW and JPG is crucial in photography. RAW offers editing flexibility but large file sizes, while JPG compresses images, saving space and ensuring compatibility. To reduce file size and make sharing easier, converting RAW to JPG is ideal. This guide shows how to convert RAW to JPG using Lightroom, Photoshop, and Camera Raw.
How to Convert RAW to JPG Using Lightroom
Lightroom is one of the most popular tools for converting RAW to JPG, providing an efficient workflow for photographers.
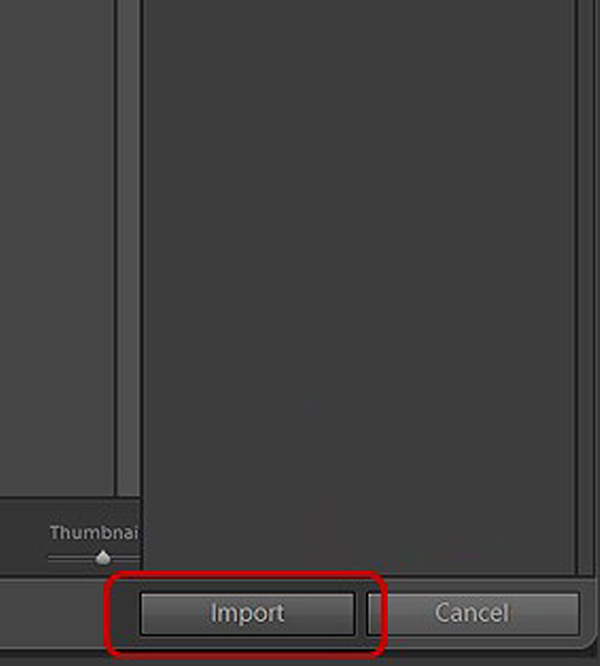
Step 1: Open Your RAW File in Lightroom
To begin, import your RAW images into Lightroom by clicking the “Import” button and selecting the files you want to edit. Once imported, you can find them in the Library module.
Step 2: Basic Adjustments (Optional)
Before converting to JPG, you can adjust the exposure, white balance, and other settings in Lightroom. These changes are non-destructive, meaning you can always revert to the original RAW file.
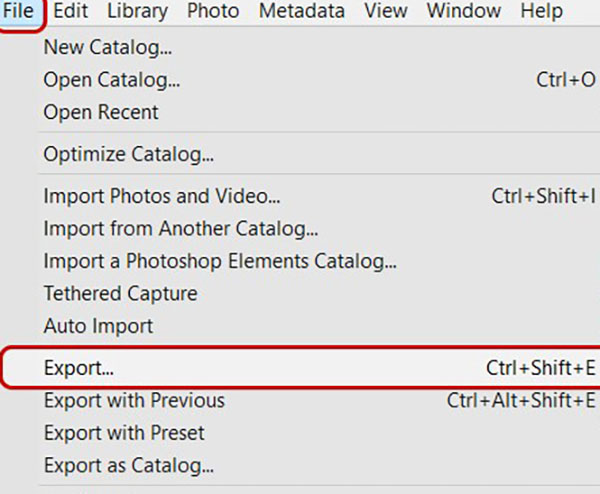
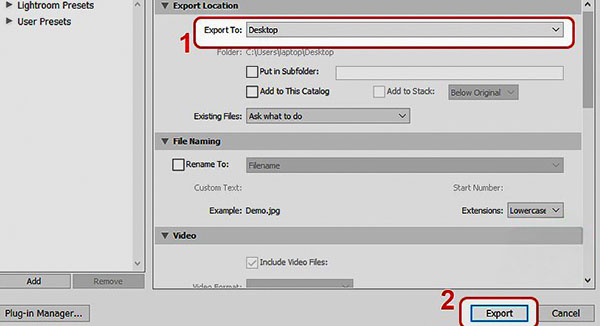
Step 3: Export as JPG
After making your adjustments, it’s time to convert the RAW file to JPG. To do this, select your image in the Library, go to “File” > “Export,” and choose JPG as the file format. You can customize the quality and resolution depending on how you plan to use the image (web or print).
How to Convert RAW to JPG Using Photoshop
Photoshop is another powerful tool that can help you convert RAW to JPG with more control over your edits.
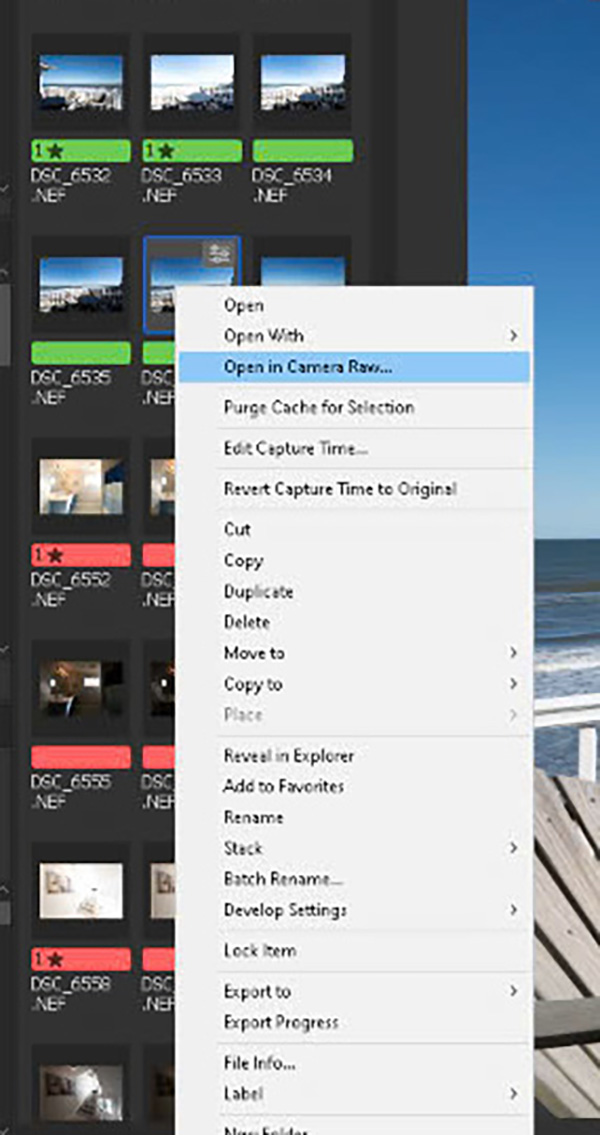
Step 1: Open the RAW File in Photoshop
When you open a RAW file in Photoshop, the Adobe Camera Raw (ACR) window will appear. In this interface, you can adjust settings like exposure, contrast, and sharpness. Once you’re satisfied with the adjustments, click “Open Image” to proceed.
Step 2: Edit the Image (Optional)
After opening the image in Photoshop, you can make further adjustments using tools like the Healing Brush, Color Balance, and Curves. Make sure to save your work frequently.
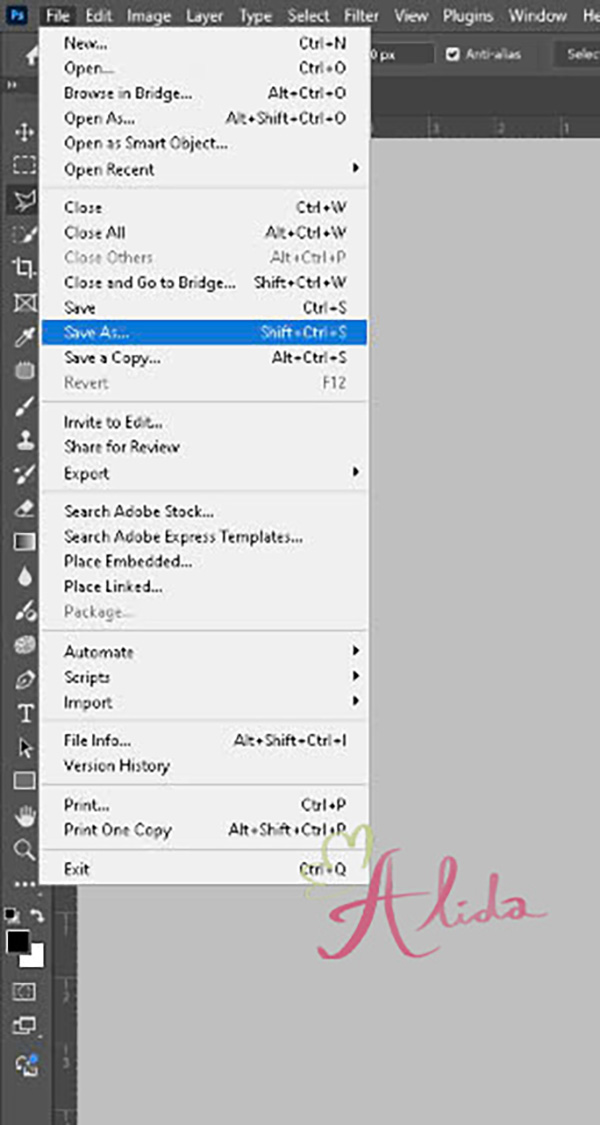
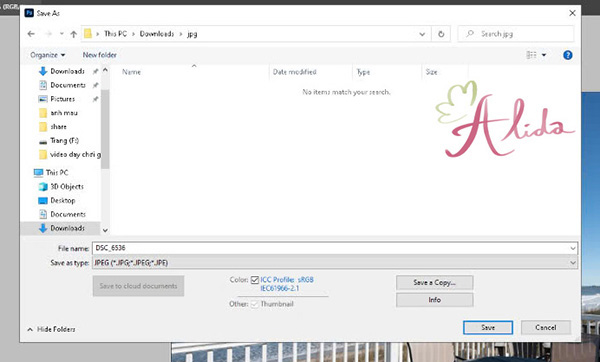
Step 3: Save and Export as JPG
Once your image is ready, go to “File” > “Save As” and select JPG as the format. You can adjust the quality level depending on the intended use, such as for printing or online sharing.
How to Convert RAW to JPG Using Camera Raw
If you’re using Adobe Camera Raw to process your RAW files, the conversion process is similar to Lightroom.
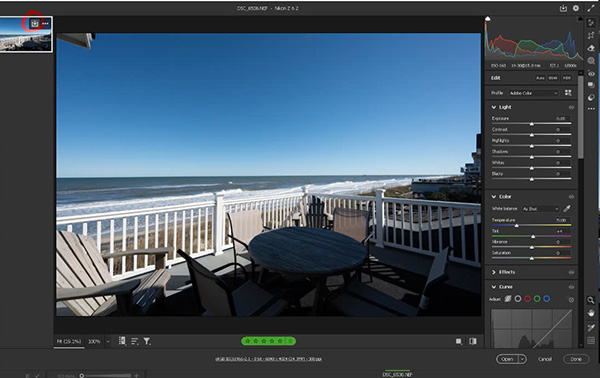
Step 1: Open RAW File in Camera Raw
When you open a RAW file, Camera Raw will display the image with options for adjusting exposure, shadows, highlights, and more. Make any necessary adjustments to enhance the image.
Step 2: Adjust and Process the Image
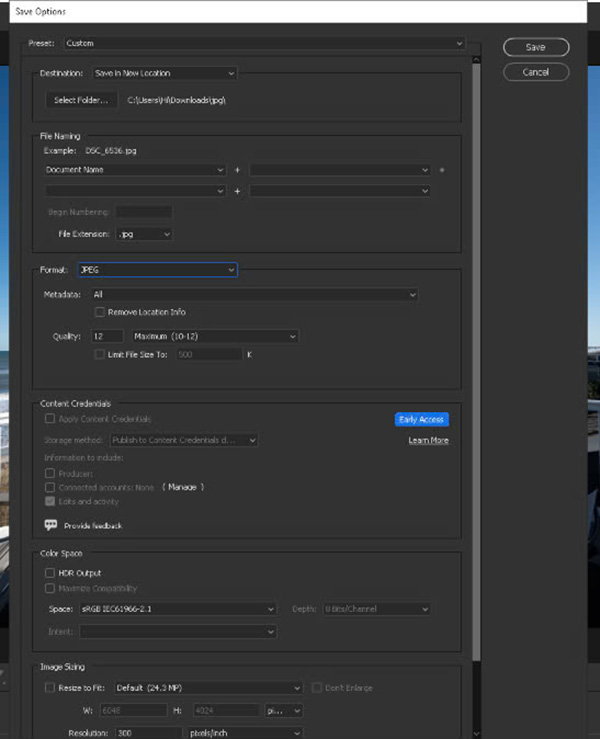
Use the Camera Raw tools to make your image pop. Once you’re satisfied with the changes, you can click “Done” to return the image to Photoshop, or you can export it directly as a JPG by selecting “Save Image.”
Things to Consider When Converting RAW to JPG
When converting RAW to JPG, keep the following in mind:
- Image Quality: JPG compression can result in a slight loss of quality, especially if the image is compressed too much. Always adjust the quality settings in the export dialogue to avoid too much degradation.
- File Size: JPGs are smaller in size than RAW files, but they still retain good quality for most uses, including sharing online and printing.
- Resolution: Check the resolution of your image before converting. For web use, 72 DPI is typically enough, but for printing, you should aim for at least 300 DPI to ensure crispness.
Conclusion
Converting RAW to JPG is a straightforward process that can greatly enhance your workflow. Whether you’re using Lightroom, Photoshop, or Camera Raw, these tools allow for easy conversion while giving you control over image quality and size. JPG is the perfect format for sharing and storing your photos, making it an essential format for everyday use.
If you need professional real estate photo editing services, Alida offers expert editing to enhance your property images. For inquiries, please contact us at photonews121@gmail.com.