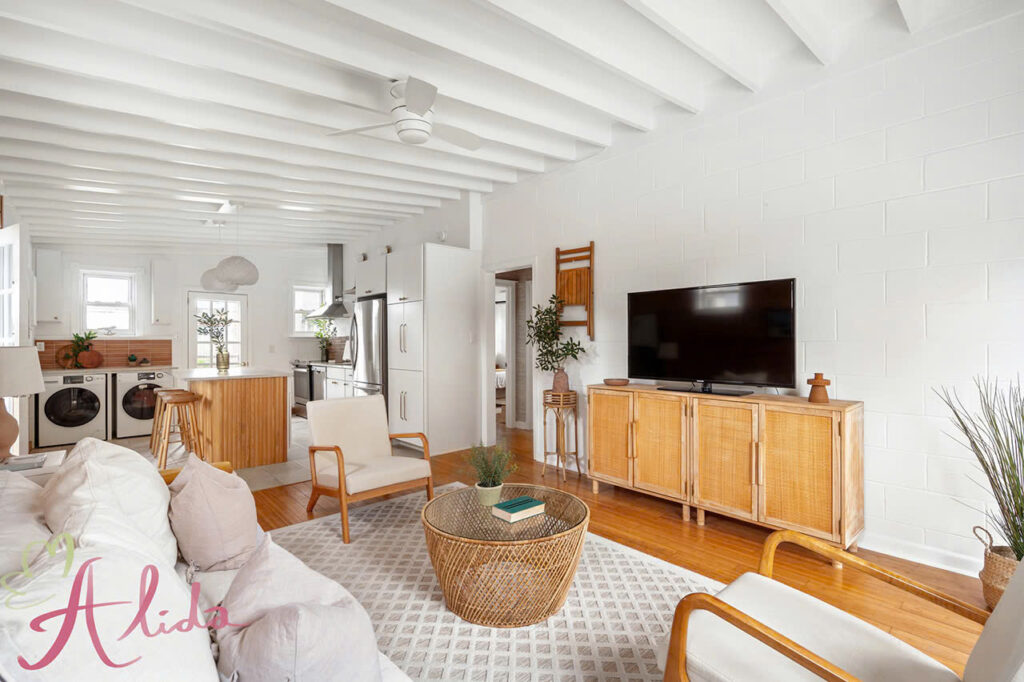
In the competitive world of real estate, high-quality exterior shots are crucial for attracting potential buyers. The exterior of a property is often the first impression a buyer gets, so capturing it in the best light can make a significant difference in how quickly a property sells. In this article, we’ll explore essential tips for real estate exterior photography, including preparation, timing, gear, and techniques that can help elevate your property listings.
Preparing the Property for Photos:
Before you even pick up your camera, the property needs to be in its best shape. This means taking the time to tidy up the exterior by mowing the lawn, trimming bushes, cleaning the windows, and removing any clutter that might distract from the home’s features. A well-maintained exterior not only looks better in photos but also signals to potential buyers that the property has been well cared for. Additionally, adding small details like flowers or decorative items can enhance the overall appeal.
Optimizing Timing for Real Estate Exterior Photography:
Timing is essential when it comes to real estate exterior photography. Natural light can significantly impact the quality of your photos, so it’s important to plan your shoot around the best times of day for each orientation of the property. For east-facing properties, early morning light is ideal. West-facing properties, on the other hand, benefit from afternoon light. For north-facing properties, shooting between 10 a.m. and 2 p.m. works best, while south-facing properties are often most flattering during sunrise or sunset. These times provide softer, warmer lighting and help avoid harsh shadows.
Essential Gear for Exterior Shots:
Having the right gear is crucial for achieving high-quality real estate exterior photos. A wide-angle lens is essential for capturing the full scale of the property, especially for smaller homes or properties with large lawns. Tripods are also important to avoid camera shake and ensure sharp, clear images. Additionally, using a high-resolution camera is a must to produce crisp, detailed photos that will look great online and in print. Investing in good equipment will ultimately pay off by enhancing the quality of your work.
Maximizing Lighting for Real Estate Exterior Photography:
Lighting is one of the most important factors in real estate exterior photography. Proper lighting can dramatically change the look and feel of a property. During the day, make sure to use natural light to your advantage by shooting when the light is soft and flattering. However, for a more dramatic effect, try shooting during dusk or dawn when the exterior lights of the property are turned on. This can add warmth and a welcoming atmosphere to the images. Additionally, consider turning on the exterior lights, especially for homes with unique features like spotlights or garden lights.
Exploring Different Angles:
One of the best ways to make your real estate photos stand out is by experimenting with different angles. Instead of taking the typical straight-on shot, try different perspectives to capture unique features of the property. Shoot from a slightly elevated position, or angle the camera to show off specific details like a beautifully landscaped garden or a charming front porch. By varying your approach, you can give potential buyers a fresh view of the property and its surroundings.
Drone Photography for Aerial Views:
Drone photography has become an invaluable tool in real estate exterior photography. Drones allow you to capture aerial views of the property, providing a unique perspective that ground-level shots simply cannot. Aerial views are especially useful for showcasing large properties, homes in scenic locations, or properties with unique layouts. Drone photography also helps buyers understand the surrounding environment, including nearby amenities and the layout of the land.
Capturing the Details:
While wide shots of the property are important, don’t forget to capture the small details. Highlight the architectural features, landscaping, and any unique aspects that make the property stand out. Focus on elements like decorative stonework, elegant doorways, or vibrant gardens. These detailed shots can help buyers envision themselves living in the space and give the listing a more polished, professional feel.
Avoiding Distortions:
Distortion can be a common issue in real estate exterior photography, especially when using wide-angle lenses. To avoid this, make sure your camera is level with the horizon and that you’re shooting from a straight angle. Using the grid function on your camera or viewfinder can help ensure your lines remain straight. While some distortion can be corrected during post-processing, it’s always best to get it right in-camera to save time and maintain the integrity of the image.
Post-Processing and Retouching in Real Estate Exterior Photography:
After the shoot, post-processing plays a vital role in bringing your images to life. Use editing software to adjust the exposure, contrast, and colors to enhance the photo without over-editing. It’s essential to retain the property’s true appearance, so avoid removing elements that are permanent, such as trees or structures. Retouching can also help eliminate distractions like garbage bins or power lines, but be careful not to overdo it. The goal is to make the property look its best while maintaining an accurate representation.
Conclusion:
Mastering real estate exterior photography requires practice. By following key tips on preparation, timing, gear, and post-processing, you can create standout photos that attract buyers. These techniques are essential for capturing properties in their best light, helping both new and experienced photographers produce high-quality images that shine in the competitive real estate market.
If you’re looking for professional photo editing services for your real estate photos, Alida offers expert retouching and enhancements. For more information or to get in touch, email photonews121@gmail.com.

