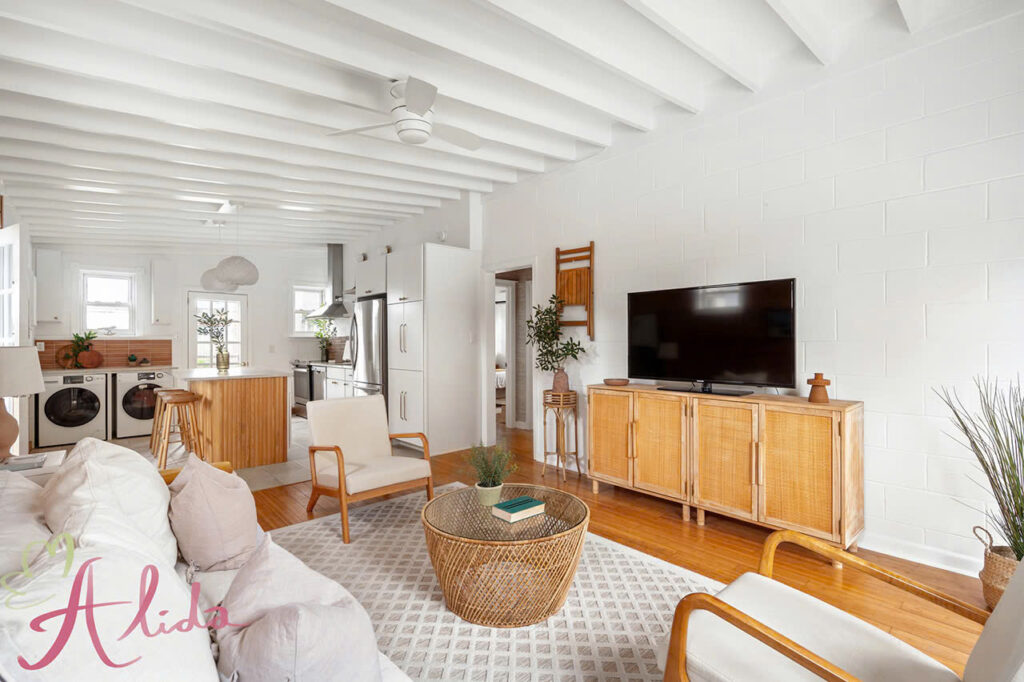
In the competitive world of real estate, high-quality photography is a crucial tool for attracting potential buyers and securing sales. Exceptional property photos can make a lasting impression and significantly increase the chances of selling a home quickly and at a desirable price. Mastering real estate photography basics is not only essential for professional photographers but also for agents and property owners who wish to present their listings in the best possible light. This guide will walk you through the foundational techniques to create stunning real estate photographs.
1. The Importance of Real Estate Photography Basics
Real estate photography is more than just capturing images of a property; it is about storytelling and creating an emotional connection with potential buyers. Well-composed, well-lit photos showcase the property’s best features, highlight its unique charm, and invite buyers to imagine themselves living there. In an age where buyers often begin their home search online, captivating visuals are the first step in making a property stand out from the competition.
Mastering photography basics allows photographers to produce consistent, professional results. It helps avoid common pitfalls, such as dark, blurry, or poorly composed images, that can deter potential buyers.
2. Using a Tripod
A tripod is an indispensable tool in real estate photography. It ensures sharp, stable images by eliminating camera shake, especially in low-light conditions. Using a tripod also allows photographers to maintain consistent framing and composition throughout the shoot, which is essential for creating a cohesive set of images.
Another advantage of a tripod is its ability to help align vertical lines in the frame. Keeping walls and edges straight is critical in real estate photography, as distorted lines can make a room appear unbalanced. Additionally, a tripod supports creative techniques, such as capturing long-exposure shots to enhance natural light in darker spaces.
3. Real Estate Photography Basics: Lighting
Lighting is one of the most significant factors that can make or break a real estate photo. Unlike the human eye, a camera cannot adjust to varying light intensities simultaneously, making it essential to control lighting conditions during a shoot.
Whenever possible, rely on natural light by shooting during the golden hours (early morning or late afternoon) when sunlight is soft and even. However, indoor spaces often require additional lighting, such as flash or continuous light, to eliminate shadows and brighten darker areas. Balancing interior and exterior lighting is also important, especially when photographing windows with outdoor views.
4. The Exposure Triangle
The exposure triangle consists of three key settings: aperture, shutter speed, and ISO. These elements work together to determine the brightness and clarity of an image:
- Aperture: A wide aperture (low f-stop) lets in more light and creates a shallow depth of field, ideal for highlighting details. However, in real estate photography, a narrower aperture (higher f-stop) is preferred to keep the entire scene in focus.
- Shutter Speed: A slower shutter speed allows more light to enter the camera, but it requires a tripod to avoid motion blur.
- ISO: A low ISO setting produces cleaner, noise-free images. Only increase ISO when additional light is needed, and other settings have been optimized.
Mastering the exposure triangle enables photographers to achieve balanced, well-exposed images that showcase the property effectively.
5. Shooting in RAW Format
Shooting in RAW format provides greater flexibility in post-processing. Unlike JPEG files, RAW files retain all the image data captured by the camera’s sensor, allowing for better adjustments to exposure, white balance, and color tones without compromising quality.
This advantage is particularly beneficial in real estate photography, where accurate color representation and dynamic range are essential for creating realistic images. RAW files also make it easier to recover details in overexposed windows or underexposed corners.
6. Using a Wide-Angle Lens
A wide-angle lens is a staple in real estate photography as it captures more of the scene in a single frame, making rooms appear spacious and inviting. This lens is ideal for photographing interiors and showcasing the flow of a property’s layout.
To avoid distortion, position the camera at a height that aligns with the room’s natural perspective—usually around chest height. Additionally, use editing software to correct any bending or warping that may occur at the edges of the frame.
7. Preparing the Property
Preparation is key to capturing high-quality real estate photos. A clean, clutter-free space not only looks more appealing but also allows potential buyers to envision themselves in the home. Here are some preparation tips:
- Declutter and depersonalize each room by removing personal items, such as family photos and excess decor.
- Ensure all lights are working and consistent in color temperature.
- Stage the property with furniture and decor that highlights its best features.
- Clean windows, mirrors, and surfaces for a polished appearance.
Taking these steps before the shoot saves time and ensures the property is presented in its best light.
8. Real Estate Photography Basics: Post-Processing
Post-processing is an essential step in real estate photography that transforms good photos into stunning ones. Key edits include:
- Adjusting brightness, contrast, and color balance to create a natural look.
- Correcting distortions and straightening vertical lines.
- Enhancing window views and balancing interior and exterior lighting.
- Removing minor distractions, such as cords or smudges, for a cleaner image.
Editing software like Adobe Lightroom and Photoshop offers powerful tools to refine your photos and ensure they meet professional standards.
9. Conclusion
Mastering real estate photography basics is the foundation for creating captivating images that attract buyers and showcase properties effectively. From using a tripod and understanding lighting to mastering the exposure triangle and post-processing techniques, each step contributes to the final result.
If you’re looking to elevate your real estate photography further, Alida offers professional photo editing services tailored to the unique needs of real estate photographers. Our team specializes in enhancing property images to ensure they stand out in a competitive market. Contact us today at photonews121@gmail.com to learn more about our services!

