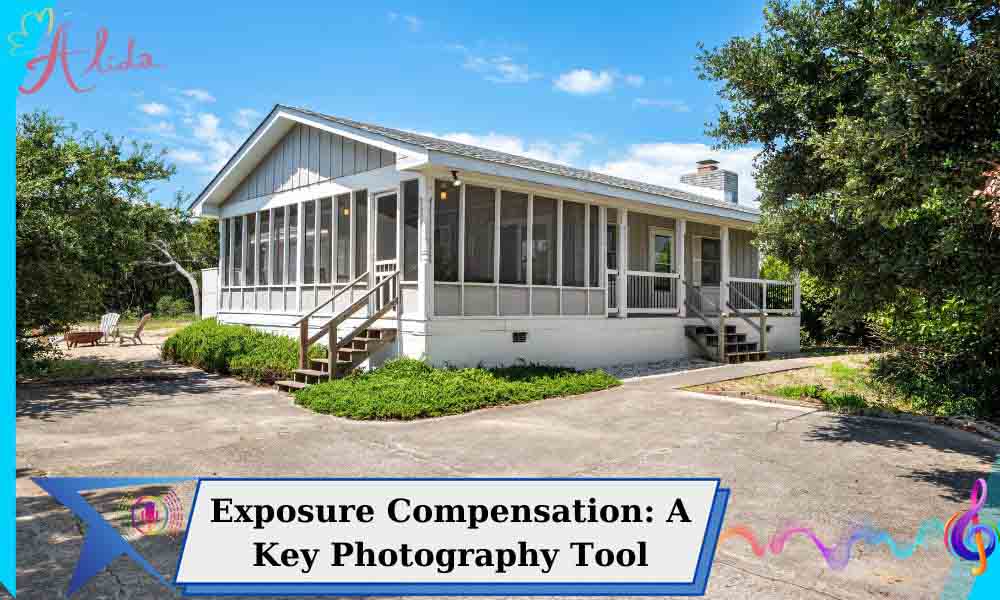
Exposure compensation is a vital tool for photographers aiming to capture well-exposed images. It allows you to adjust the camera’s automatic exposure settings, helping you achieve the desired brightness in your photos. Mastering this tool can significantly improve your photography.
What is Exposure Compensation?
Exposure compensation is a feature that lets photographers manually adjust the exposure to make their photos brighter or darker. Cameras automatically set exposure based on light readings, but exposure compensation allows you to override this, offering more control over your image’s exposure.
How Exposure Adjustment Impacts Brightness
By using exposure compensation, you change the overall brightness of your image. A positive value increases brightness, while a negative value reduces it. This is especially helpful when shooting in challenging lighting conditions, like high contrast scenes or when the camera’s automatic exposure fails to produce the desired result.
How to Use Exposure Compensation
To use exposure adjustment effectively, it’s important to understand its role in different camera modes. It’s available in most automatic or semi-automatic settings like aperture priority (A or Av), shutter priority (S or Tv), and program mode (P). Depending on your camera brand and model, you can find the exposure dial or button either on the camera body or in the settings menu.
For instance, on many Canon and Nikon models, you can access the exposure control via a dedicated dial or button located near the top. Some models may include it in the quick menu or customizable settings.
How Exposure Compensation Works
Exposure adjustment impacts three key aspects of photography: aperture, shutter speed, and ISO. While the camera automatically adjusts these settings, exposure control allows you to tweak them to match your artistic vision. For instance, you can adjust the aperture to let in more or less light, change the shutter speed for motion effects, or modify the ISO to control brightness and noise.
- Aperture: A wider aperture allows more light, brightening the image.
- Shutter Speed: A slower shutter speed lets in more light, darkening the scene.
- ISO: Increasing ISO sensitivity allows the camera to capture more light, brightening images, but can introduce noise.
Practical Examples
Imagine you are photographing a subject against a bright sky. The camera may expose for the sky, making the subject too dark. In this situation, adjusting exposure compensation to a positive value helps to brighten the subject, creating a more balanced exposure.
In low-light conditions, a negative exposure compensation value might be needed to avoid overexposure from artificial lights or bright light sources, ensuring the image retains detail in the shadows.
Tips for Using Exposure Compensation
- Avoid Overexposure: While brightening images, be cautious not to overexpose highlights. In scenes with bright light, such as the sun, a slight negative compensation might work better.
- Check the Histogram: A histogram helps you evaluate exposure. Aim for a balanced histogram to ensure proper exposure without losing detail in the shadows or highlights.
- Practice: The more you use exposure compensation, the better you’ll understand how different lighting conditions affect exposure. Practice with various scenes to get the most out of this tool.
Common Mistakes to Avoid
- Not checking the results: Always review your photos after adjusting exposure compensation. If the image is too dark or too bright, tweak the settings further.
- Over-relying on auto modes: While automatic modes can work well, mastering manual settings offers you more precise control over exposure adjustments.
Conclusion
Exposure adjustment is an essential tool for photographers, offering the flexibility to fine-tune exposure across different lighting scenarios. By learning how to modify brightness, applying practical tips, and avoiding common errors, photographers can achieve more accurate exposure and improve the overall quality of their images.
For real estate photographers seeking professional photo editing services, Alida offers expert image enhancement tailored to your needs. Enhance your photos for listings, advertisements, and portfolios. Contact us at photonews121@gmail.com for more information and to get started!


