


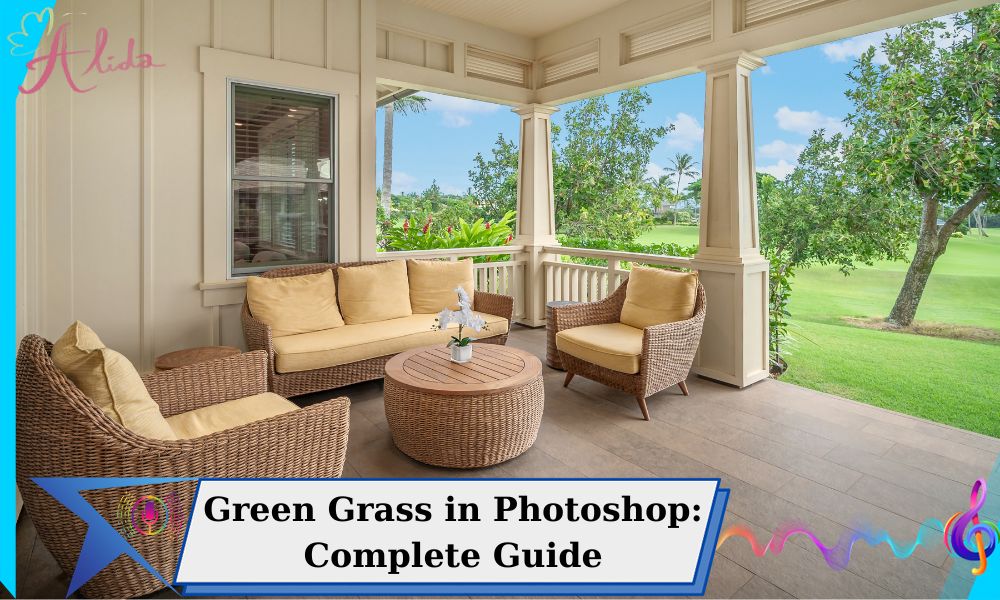
1. Introduction to Green Grass in Photoshop
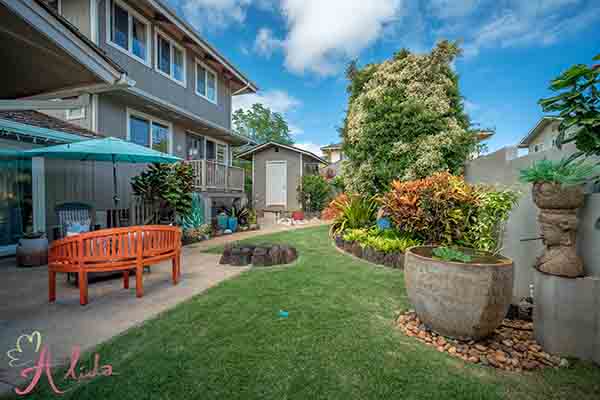
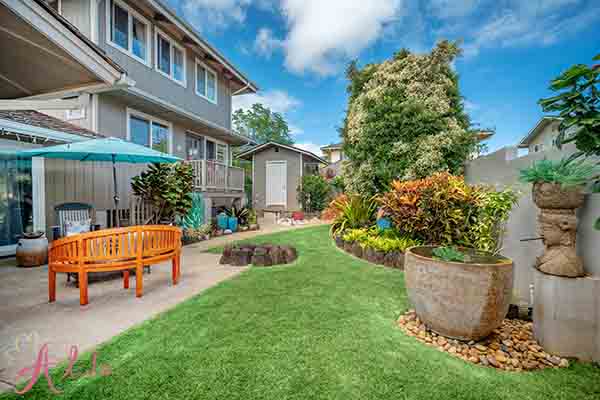
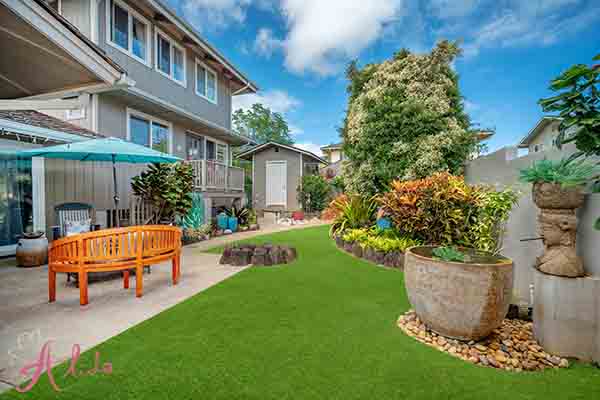
Greening grass in Photoshop is an essential skill for real estate photo editing. Whether you’re working with a dull, brown lawn or simply want to enhance the natural beauty of a property’s landscape, this technique allows you to transform a photo into a more attractive and polished image. A vibrant, green lawn is not only visually appealing but can also highlight the property’s outdoor space, making it stand out to potential buyers.
Greening grass brings multiple benefits:
- Enhances Aesthetics: A lush green lawn creates a welcoming and pleasant atmosphere, which is especially important in real estate where first impressions matter.
- Highlights Details: It helps emphasize the layout of the garden, pathways, and other landscaping features.
- Adds Professionalism: A well-edited image with a vibrant lawn gives a professional touch, enhancing the overall quality of your photo.
2. Essential Photoshop Tools for Greening Grass
To green grass effectively, Photoshop offers a variety of tools that make the process easier and more efficient.
Brush Tool
The Brush Tool is the most direct method to paint over areas that need to be greened. You can customize the size and softness of the brush to carefully apply color to the grass.
Adjustment Layers
Adjustment Layers such as Hue/Saturation and Color Balance are vital in greening grass. These layers allow you to tweak the colors of the grass without permanently altering the original image, offering flexibility and precision.
Quick Selection Tool
The Quick Selection Tool is ideal for quickly selecting the grass area in your image. By simply clicking and dragging over the grass, Photoshop will automatically detect and highlight the area, making the editing process much faster.
3. Step-by-Step Guide to Green Grass in Photoshop
Step 1: Select the Grass Area
First, you need to isolate the grass area using the Quick Selection Tool. Click and drag over the areas where the grass is visible. Make sure to zoom in to refine your selection, ensuring only the grass is highlighted.
Step 2: Apply Adjustment Layers
Once the grass area is selected, go to the Adjustment Layer panel and choose Hue/Saturation. Use the sliders to adjust the hue of the grass. Shift the hue to a more vibrant green and increase the saturation to make the grass color pop. You can also use Color Balance to fine-tune the color further.
Step 3: Adjust Brightness and Contrast
To make the grass appear more natural, adjust the brightness and contrast. Increasing contrast can make the green grass stand out more, while adjusting brightness can help balance the light and shadows for a realistic look.
Step 4: Refine the Edges and Details
Once the grass is green, refine the edges using the Refine Edge tool. This will ensure that the selection blends seamlessly with the surrounding areas. Take your time to perfect the details, especially around the borders where grass meets other elements in the image.
4. How to Green Grass Without Affecting Other Parts of the Image
When greening grass, it’s important not to accidentally alter other parts of the image. This can be easily avoided using the following methods:
Using Layer Masks
By adding a Layer Mask to your adjustment layers, you can protect the areas of the image that you don’t want to edit. This allows you to paint only on the grass while leaving the rest of the image untouched.
Using the Gradient Tool
The Gradient Tool can help you create a smooth transition between the green grass and other areas of the image. This ensures that there’s no harsh line where the grass color changes, providing a more natural look.
5. Advanced Tips for Creating Realistic Green Grass Effects
If you want to take your editing to the next level, here are a few advanced tips:
Adding Depth to Grass
Using shadows and highlights can give the grass more dimension, making it appear more lifelike. Apply subtle shadow effects where the grass meets the ground to simulate natural lighting.
Using the Clone Stamp Tool
The Clone Stamp Tool is perfect for adding extra details to the grass. If certain areas of the grass look sparse, you can clone nearby grass textures and paint them over the blank spots, creating a fuller, more consistent appearance.
6. Common Mistakes When Greening Grass in Photoshop
Even experienced photo editors can run into issues when greening grass. Here are a few common mistakes to avoid:
- Uneven Color: If the grass looks patchy or has inconsistent color, it might be due to incorrect selection or over-adjustment. Refine the selection and adjust the color gradually.
- Unnatural Green: Sometimes, the grass can appear overly saturated or unnaturally bright. Adjust the hue and saturation carefully to keep the grass looking realistic.
- Harsh Edges: When the grass selection is too sharp, it can create visible lines where the grass ends. Use a feathering technique to soften the edges.
7. Tools for Green Grass in Photoshop and Beyond
While Photoshop is the industry standard for photo editing, there are other tools and software you can use for greening grass. For example:
- Lightroom: Lightroom is great for adjusting global color tones, including greens, in a more straightforward and non-destructive way.
- Capture One: Capture One also offers excellent color-grading tools that can enhance the natural greens of the grass.
8. Conclusion
Greening grass in Photoshop is an essential skill for real estate photographers looking to create stunning, professional-quality images. By following these steps, using the right tools, and applying advanced techniques, you can enhance the aesthetic appeal of your photos, making them more attractive to potential buyers.
If you need professional help with real estate photo editing, consider reaching out to Alida Photo Editing Services. With years of experience in the field, we specialize in making your property images stand out with expert touch-ups. For more information or inquiries, feel free to email us at photonews121@gmail.com.