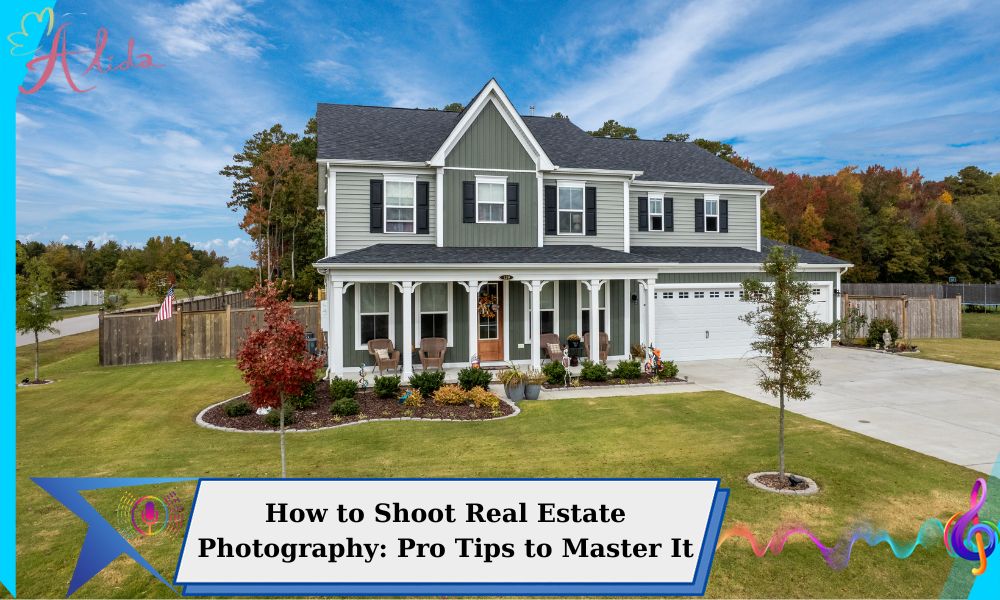
How to shoot real estate photography is a crucial skill for any photographer. High-quality images can greatly influence a buyer’s perception and decision. This guide covers the essential tools, techniques, and tips to create stunning real estate photos that make a lasting impact.
1. How to Shoot Real Estate Photography: Understanding Its Importance
Capturing a property in its best light requires more than just a camera. Real estate photography involves strategic planning, proper equipment, and post-processing expertise. Professional photos not only highlight the property’s key features but also evoke emotions, helping clients envision themselves in the space.
With the increasing reliance on online property listings, knowing how to shoot real estate photography is more critical than ever. A great photo has the power to attract more views, generate higher engagement, and potentially increase the property’s market value.
2. Essential Equipment for Real Estate Photography
To excel in real estate photography, having the right tools is non-negotiable. Here’s what you’ll need:
2.1. Camera and Lenses
- DSLR or Mirrorless Camera: A full-frame camera provides superior image quality and better low-light performance.
- Wide-Angle Lens: Essential for capturing spacious interiors. A focal length between 16-35mm works best.
2.2. Tripod
A sturdy tripod ensures sharp images and allows for consistent framing across multiple shots. It’s especially useful for long exposures in low-light conditions.
2.3. Lighting Equipment
While natural light is ideal, having additional lighting tools like softboxes or portable flashes can enhance the image in dimly lit spaces.
3. How to Shoot Real Estate Photography: Step-by-Step Guide
3.1. Preparing the Property
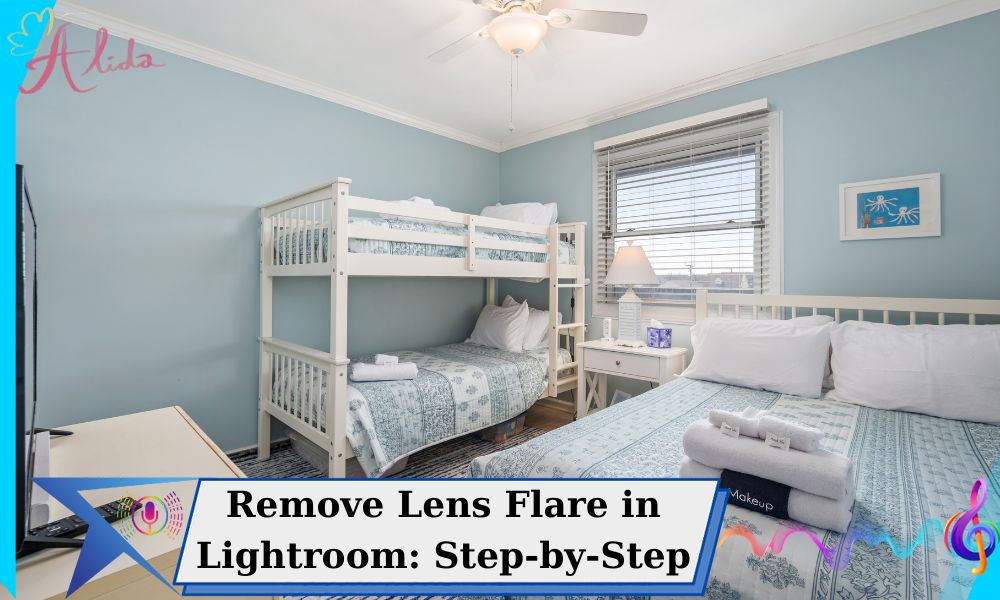
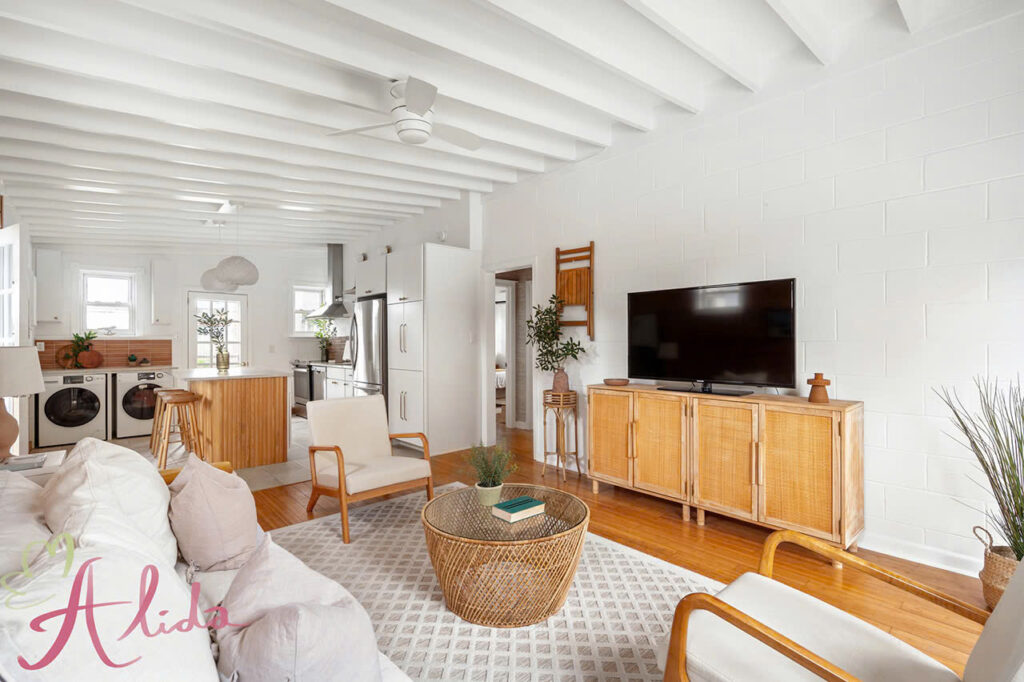
- Declutter and Clean: A clean, organized space looks more appealing in photos. Remove personal items to make the property feel neutral and inviting.
- Stage the Area: Add elements like fresh flowers, pillows, or artwork to make the space look lived-in yet stylish.
3.2. Mastering Camera Settings
- Use manual mode for greater control over exposure, aperture, and ISO.
- Set a small aperture (f/8 to f/16) for sharpness and depth of field.
- Keep ISO low (100-400) to minimize noise.
- Adjust shutter speed to balance light and avoid overexposure.
3.3. Composing the Shot
- Straighten Lines: Keep vertical and horizontal lines aligned to maintain perspective.
- Rule of Thirds: Use this technique to create balanced, visually pleasing compositions.
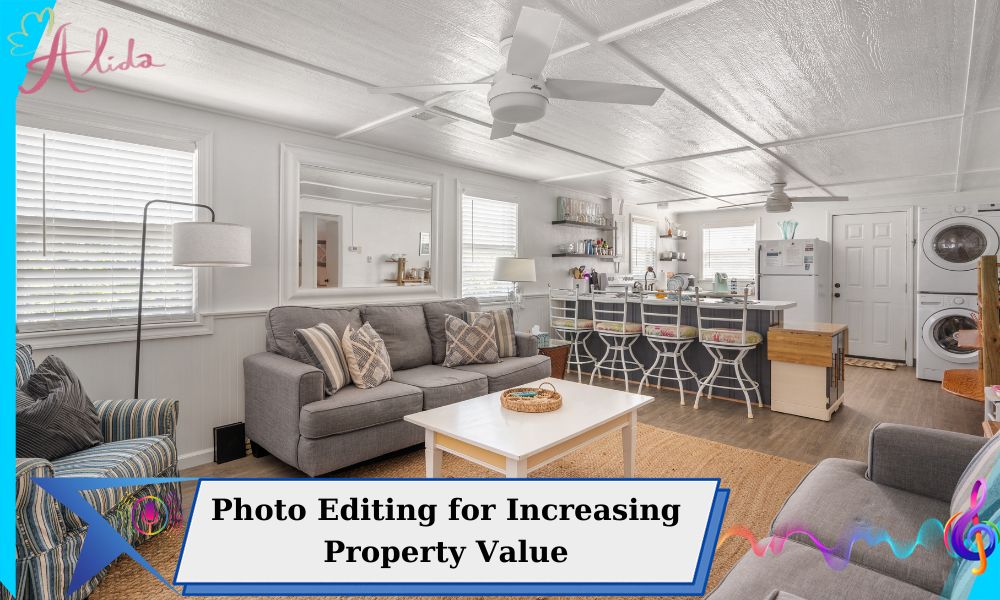
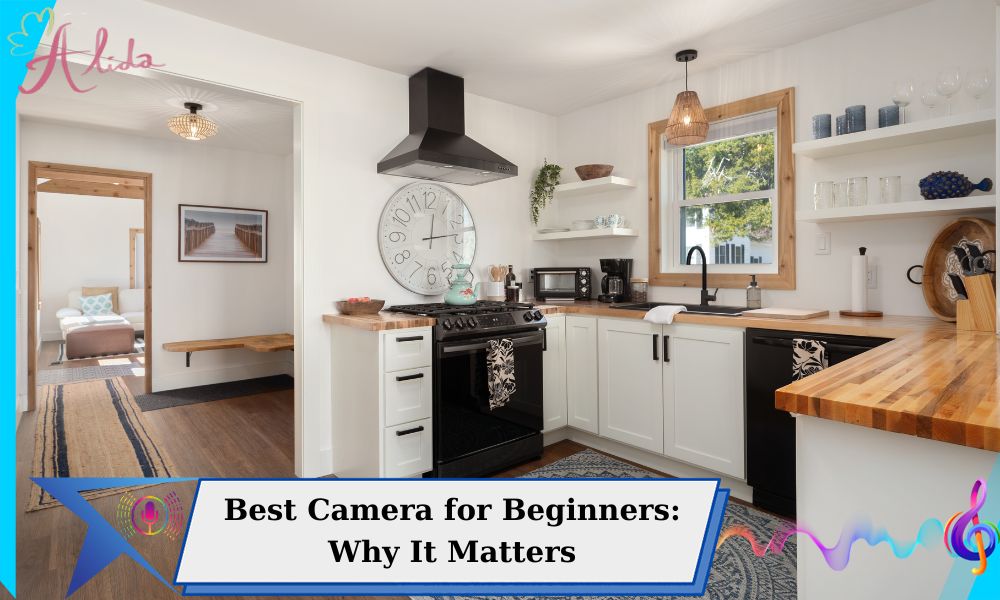
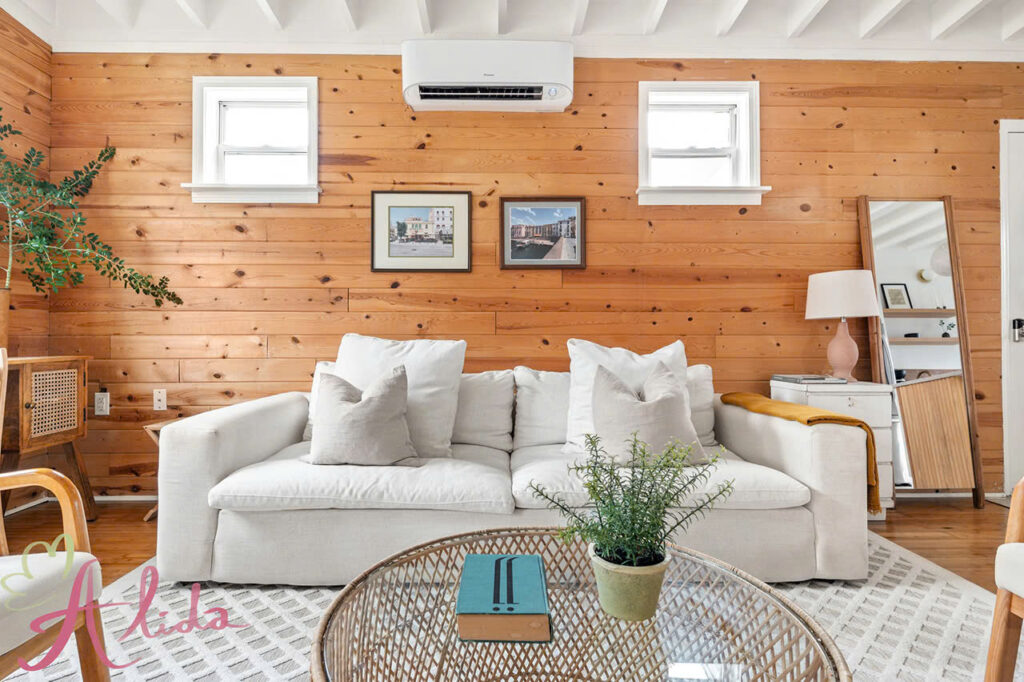
- Highlight key features of the property, like large windows, hardwood floors, or unique architectural elements.
3.4. Leveraging Natural Light
Shoot during the golden hours (early morning or late afternoon) to capture soft, diffused light. Open blinds and curtains to maximize natural light. Avoid shooting towards bright windows without adjusting the exposure properly.
4. How to Shoot Real Estate Photography: Post-Processing Tips
Editing plays a crucial role in real estate photography. Photoshop and Lightroom are essential tools for improving and enhancing your images.
4.1. Correcting Exposure and White Balance
Ensure that the colors in your images are accurate and consistent across the series. Use the white balance tool in Lightroom to achieve this.
4.2. Straightening Lines and Cropping
Realign skewed lines to maintain a professional look. Crop images to remove unnecessary elements and improve framing.
4.3. Removing Distractions
- Use Photoshop’s Healing Brush Tool to remove imperfections like scratches or stains.
- Use the Brush Tool to adjust lighting or apply selective edits for a polished finish.
5. Common Mistakes to Avoid in Real Estate Photography
- Ignoring Clutter: Always take time to tidy the space before shooting.
- Improper Lighting: Avoid overly bright or dark photos; aim for a balanced exposure.
- Lack of Detail Shots: While wide-angle shots are essential, don’t forget to capture unique details that make the property stand out.
6. Partnering with Professional Photo Editing Services
Even with great photography skills, post-production can elevate your work to a professional level. For exceptional real estate photo editing, consider partnering with a trusted service provider like Alida Photo Editing Services.
Why Choose Alida?
- Expertise in real estate photography editing.
- Advanced tools to remove imperfections, enhance lighting, and correct perspective.
- Quick turnaround time to meet tight deadlines.
Contact Us: For more information, email photonews121@gmail.com and let us transform your real estate photos into masterpieces.
7. Conclusion
Mastering how to shoot real estate photography requires a combination of preparation, technique, and post-production skills. By using the right equipment, understanding composition principles, and leveraging professional editing services, you can create images that captivate viewers and elevate property listings. Start honing your skills today, and watch your real estate photography career soar!

