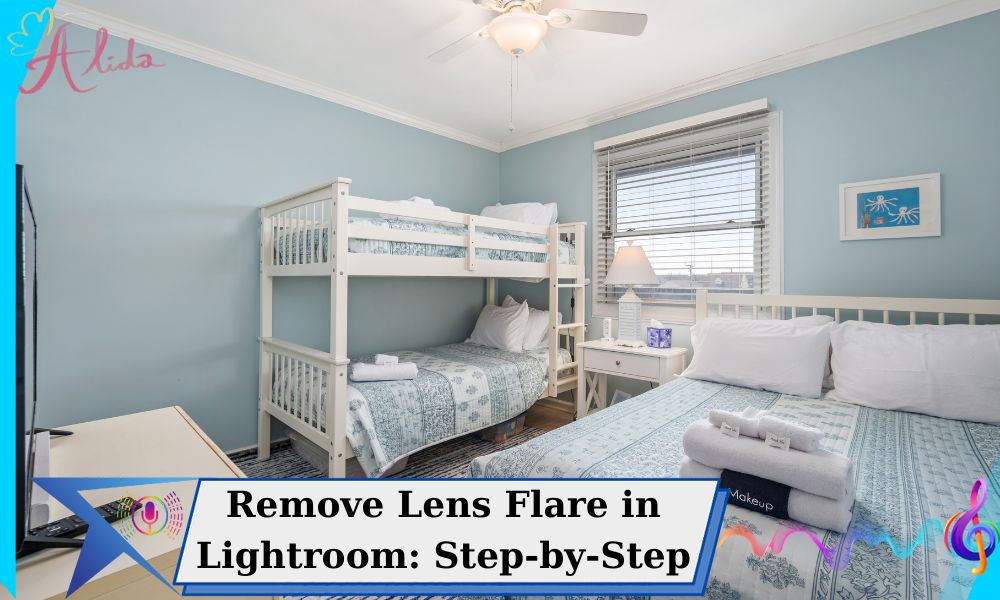
In the competitive world of real estate, high-quality images play a crucial role in attracting potential buyers and increasing property value. Professionally edited photos can highlight the best features of a home, making listings more appealing and engaging. On the other hand, poor-quality images can deter buyers, lower the perceived value of a property, and reduce click-through rates on listings. That’s why learning how to improve image quality in Photoshop is essential for real estate photographers and editors.
Key Factors to Improve Image Quality in Photoshop
Before diving into the editing process, it’s important to understand the factors that impact image quality:
- Image Resolution and Dimensions: Higher resolution ensures clarity and sharpness when zooming in.
- Lighting, Colors, and Sharpness: Well-balanced lighting and accurate colors create a natural and appealing look.
- Noise Levels and Clarity: Reducing noise and enhancing details make images look crisp and professional.
Step-by-Step Guide to Improve Image Quality in Photoshop
Follow these steps to optimize your real estate photos effectively:
1. Adjusting Resolution and Image Size
When resizing images, maintaining high resolution is critical for clarity.
- Go to Image > Image Size in Photoshop.
- Increase resolution while keeping the “Resample” box checked.
- Choose the appropriate resampling method:
- Bicubic Smoother: Best for enlarging images while maintaining quality.
- Bicubic Sharper: Best for reducing image size while preserving sharpness.
2. Enhancing Sharpness
A sharp image can make real estate photos stand out. Photoshop offers several sharpening tools:
- Unsharp Mask: Go to Filter > Sharpen > Unsharp Mask and adjust Amount, Radius, and Threshold.
- Smart Sharpen: More advanced control over shadows and highlights.
- High Pass Filter: Duplicate the image layer, apply Filter > Other > High Pass, then set the blend mode to Overlay or Soft Light for a detailed, crisp look.
3. Adjusting Brightness and Contrast
Proper lighting ensures a well-balanced and vibrant image.
- Use Levels (Ctrl + L) to adjust highlights, midtones, and shadows.
- Use Curves (Ctrl + M) for finer control over contrast and brightness.
- Enhance exposure for well-lit interiors while preserving natural shadows.
4. Correcting White Balance and Color
Incorrect white balance can make interiors look unnatural.
- Use the White Balance tool in Camera Raw to set a neutral tone.
- Adjust Color Balance (Ctrl + B) to fine-tune hues.
- Use Hue/Saturation (Ctrl + U) to control intensity without distorting colors.
- Apply Selective Color adjustments to refine specific shades (e.g., making whites appear brighter without affecting other colors).
5. Reducing Noise and Enhancing Details
Noise is common in low-light interior shots. Reduce noise while preserving important details:
- Use Filter > Noise > Reduce Noise and adjust Strength and Preserve Details.
- Use Camera Raw’s Noise Reduction settings for better control over luminance and color noise.
- Increase clarity and texture in Camera Raw’s Clarity slider for a polished look.
6. Saving Images in the Best Quality
After editing, saving the image correctly ensures maximum quality without large file sizes:
- For Web: Use File > Export > Save for Web (Legacy) and choose JPEG with optimized settings.
- For Print: Use TIFF or high-quality JPEG with 300 DPI resolution.
- Use Photoshop’s Export As feature to save WebP format for better compression without loss.
Tips for Optimizing Real Estate Photos for SEO
Optimizing images for SEO can improve website rankings and increase visibility.
- Choose the right format: JPEG for standard images, PNG for transparency, and WebP for the best balance of quality and compression.
- Use descriptive file names: Rename files with relevant keywords, e.g.,
luxury-home-living-room.jpginstead ofIMG_12345.jpg. - Optimize ALT text: Use keyword-rich ALT tags like “Modern kitchen with natural lighting – real estate photography.”
- Compress images: Use TinyPNG or Photoshop’s compression settings to reduce file size without sacrificing quality.
Conclusion
Improving image quality in Photoshop is essential for creating eye-catching real estate listings. By adjusting resolution, sharpness, brightness, color balance, and reducing noise, you can enhance property photos to attract more potential buyers. Additionally, optimizing images for SEO helps real estate websites rank higher in search results, increasing visibility and engagement.
For professional real estate photo editing services, trust Alida. Our team specializes in delivering high-quality, visually stunning images that help your listings stand out. Contact us at photonews121@gmail.com to learn more about our services.


