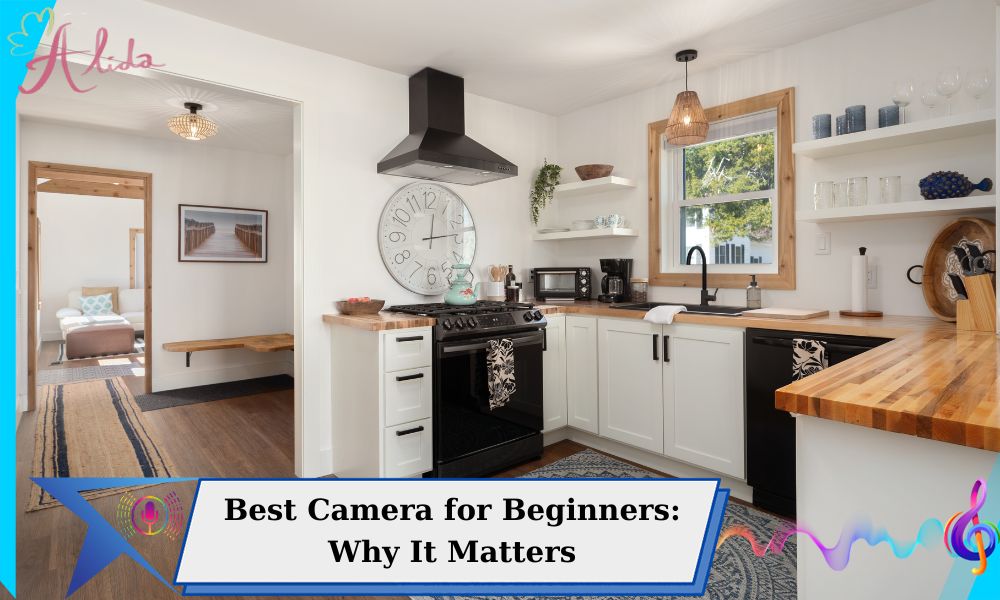
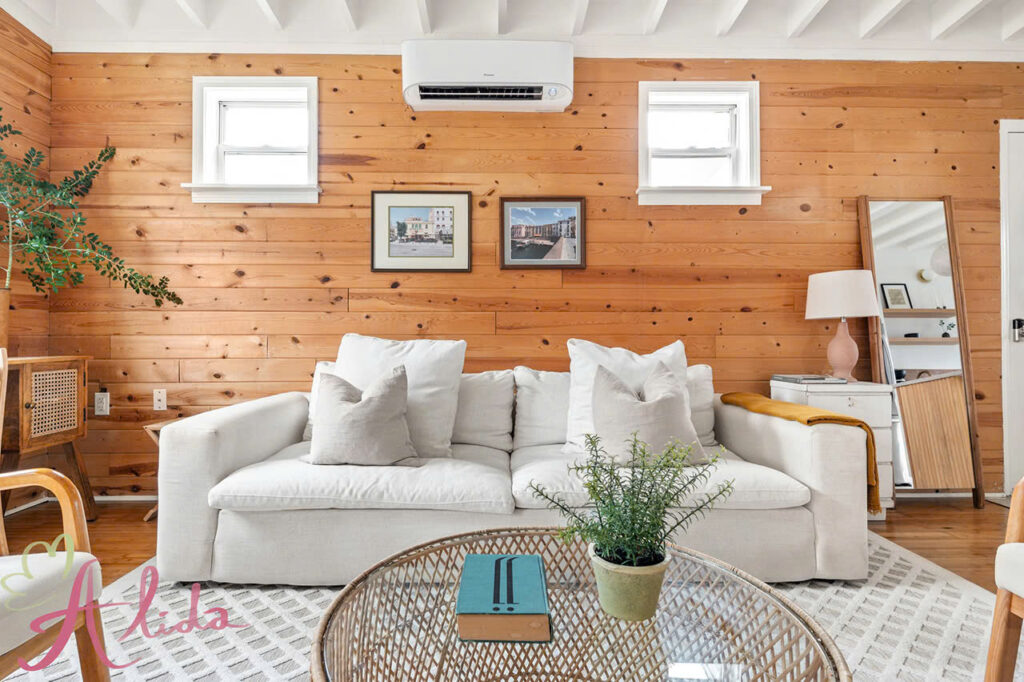
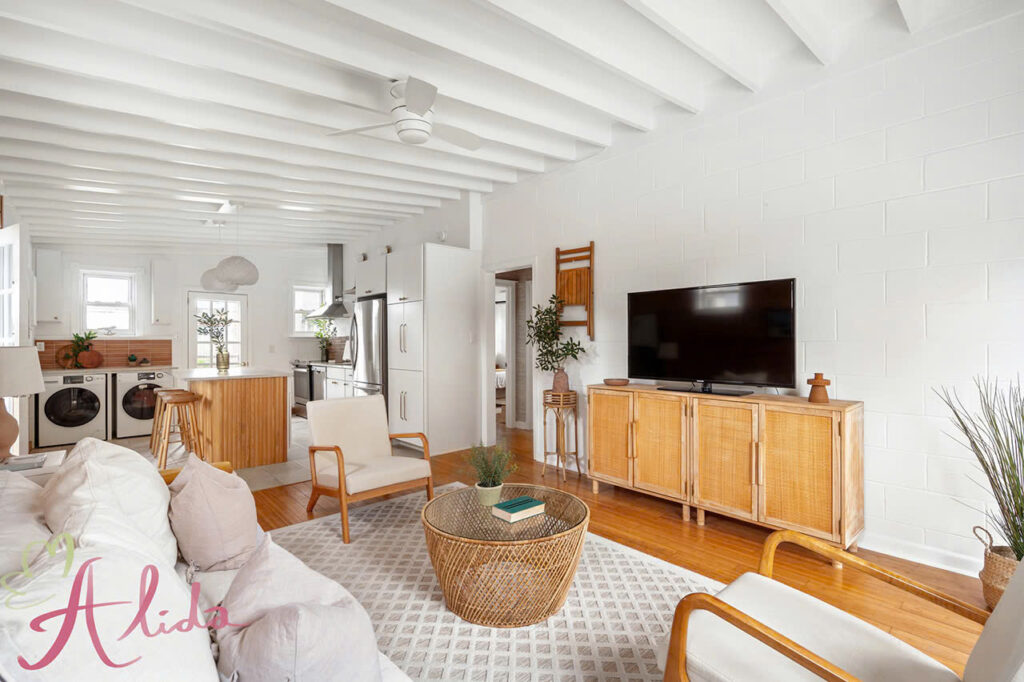
In real estate marketing, the power of interior photography cannot be overstated. High-quality images can greatly influence potential buyers, making professional photo editing an essential skill for photographers. This article covers key techniques that will transform your interior photos into visually appealing masterpieces, ensuring they stand out in a competitive market.
Why Photo Editing Matters in Interior Photography for Real Estate?
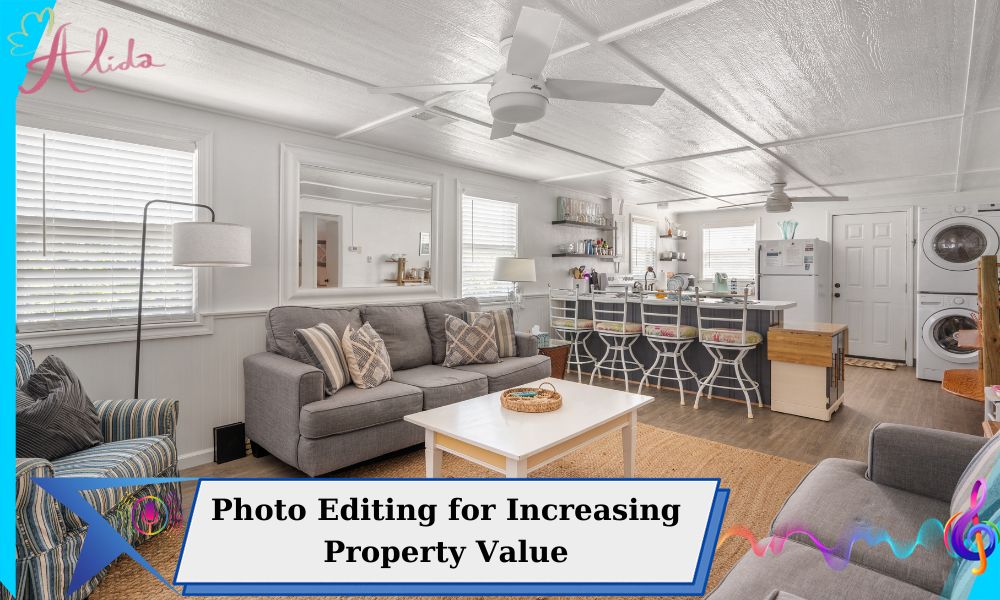
When it comes to real estate photography, the goal is to highlight the best features of a property. Photo editing helps enhance the image quality, correct flaws, and create a professional, polished look. Effective editing can make a huge difference in how potential buyers perceive a listing, boosting engagement and increasing the likelihood of a sale.
Adjusting Brightness and Exposure in Interior Photography
One of the first steps in editing interior photos is to adjust the brightness and exposure. Poor lighting or overexposed images can distort the view of a room, making it look unappealing. By carefully adjusting the exposure, shadows, and highlights, you can create a well-balanced image with enhanced clarity. Use both global and local adjustments to target specific areas that require more light, ensuring the entire room is evenly lit.
Color Correction
Color plays a crucial role in interior photography, as it sets the mood and ambiance of the space. It’s essential to balance the colors to reflect the natural tones of the room. Using tools like the HSL (Hue, Saturation, and Luminance) panel in Lightroom or Photoshop, you can make precise color adjustments to match the natural lighting and ensure the image remains true to life. This adjustment also helps eliminate any color imbalances that may have been caused by artificial lighting.
White Balance Adjustments
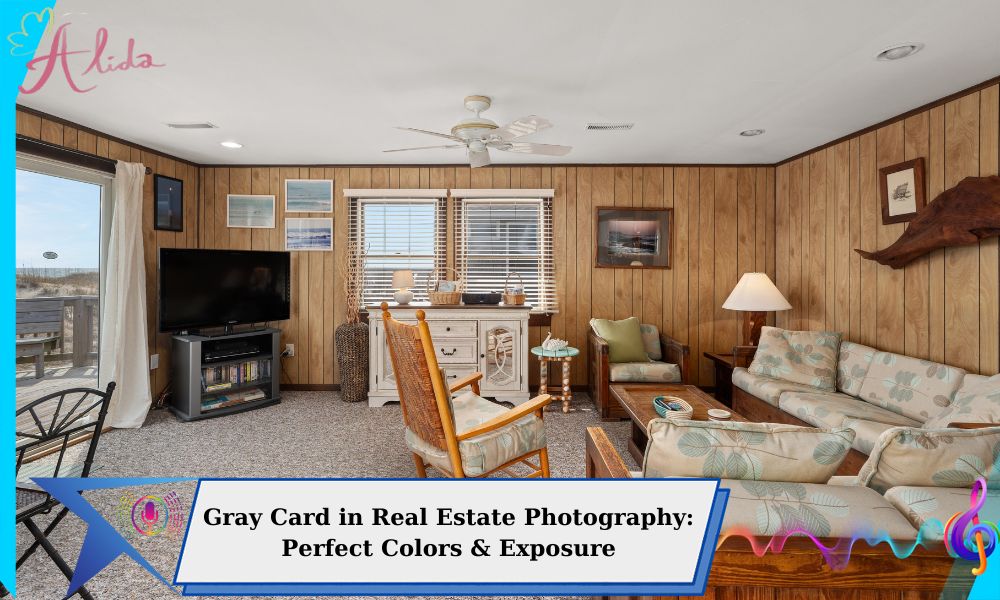
White balance is another important aspect of interior photography. The wrong white balance can cause color casts, such as a yellowish or bluish tint, making the room look unnatural. By adjusting the white balance, you can remove these color casts and restore the true colors of the space. It’s essential to use the correct settings for various lighting conditions, such as tungsten or daylight, to achieve realistic results.
Correcting Perspective in Interior Photography
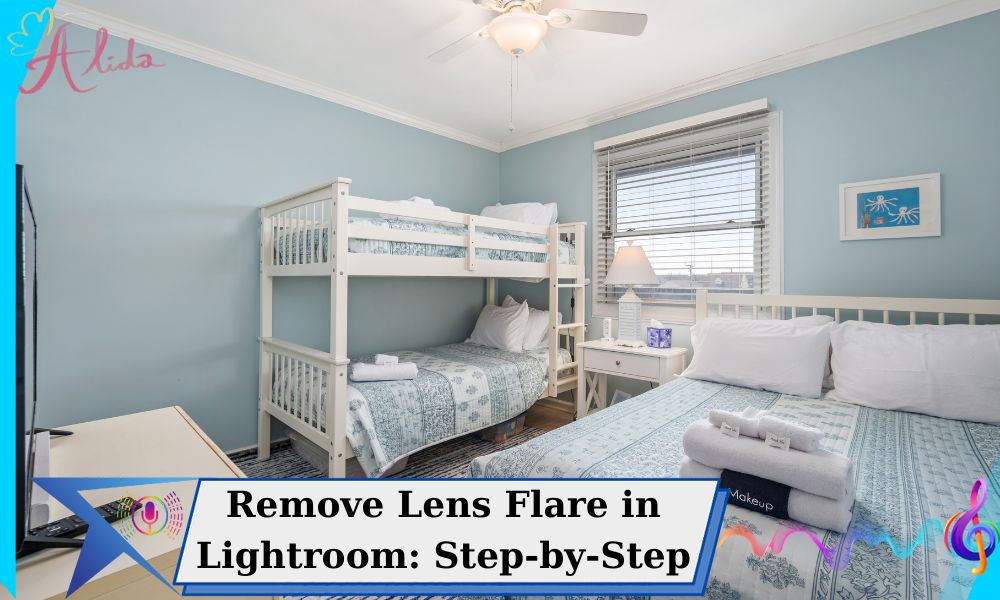
Interior photography often suffers from lens distortions that cause lines to appear crooked, especially when shooting wide-angle. This can be fixed by using perspective correction tools in Lightroom or Photoshop. With a few clicks, you can straighten vertical and horizontal lines to create a more accurate representation of the space. Perspective correction also enhances the overall professionalism of the photo.
HDR Editing
High Dynamic Range (HDR) editing is a technique that combines multiple exposures to capture a wider range of light in a single image. This is particularly useful for interior shots where both bright and dark areas exist. HDR editing ensures that both the highlights and shadows are properly exposed, resulting in a balanced image with more detail. By merging different exposures, you can create a stunning final photo that accurately portrays the room’s features.
Conclusion
In conclusion, mastering these photo editing techniques will help you elevate your interior real estate photography to the next level. By adjusting brightness and exposure, correcting colors and white balance, fixing perspective distortions, and using HDR editing, you can create images that effectively highlight the property’s features. Professional editing is a key factor in real estate success, as it attracts potential buyers and helps listings stand out.
If you’re looking for expert real estate photo editing services, Alida offers top-notch solutions to enhance your property photos. For inquiries, please contact us at photonews121@gmail.com. Let us help you create images that sell!

