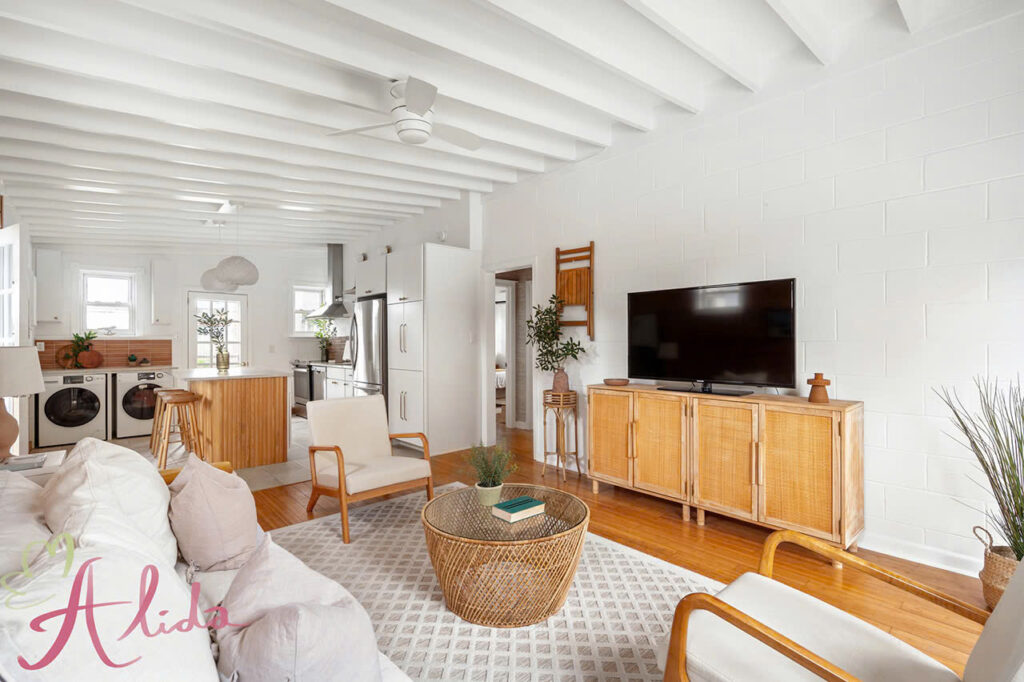
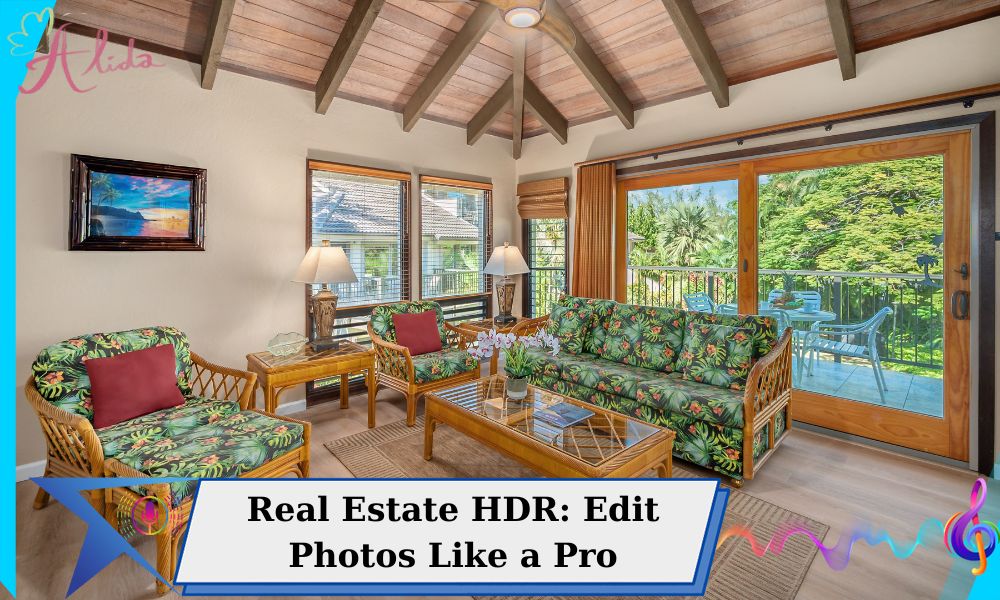
Real estate photography plays a vital role in the success of property marketing. In a competitive market, professional-quality images can significantly enhance a property’s appeal, helping it stand out among the competition. One of the most powerful techniques in real estate photo editing is High Dynamic Range (HDR). In this article, we will explore the importance of photo editing in real estate photography, the steps to improve your images, and how HDR can take your photos to the next level.
Real Estate HDR: The Importance of Editing
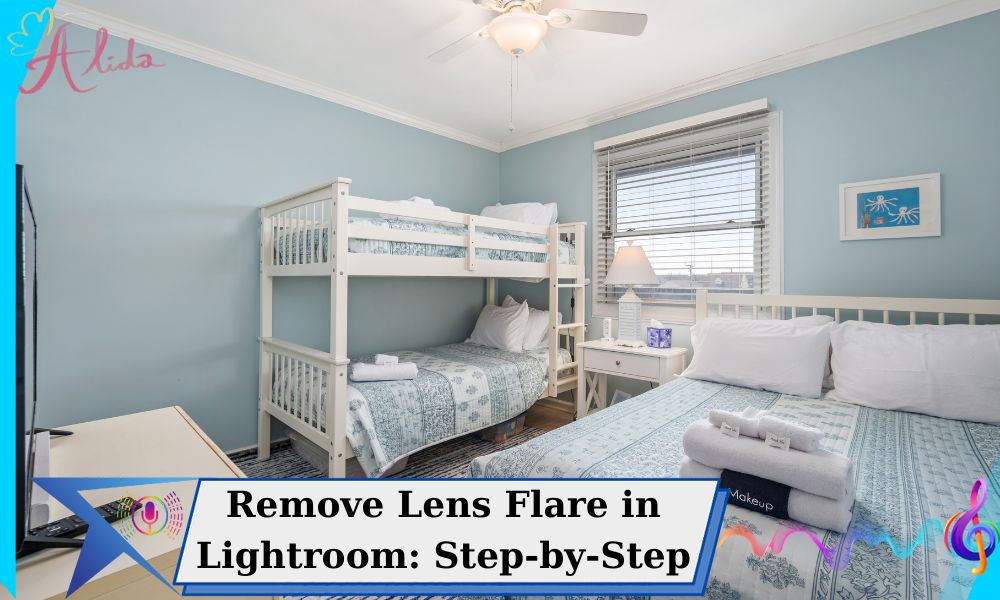
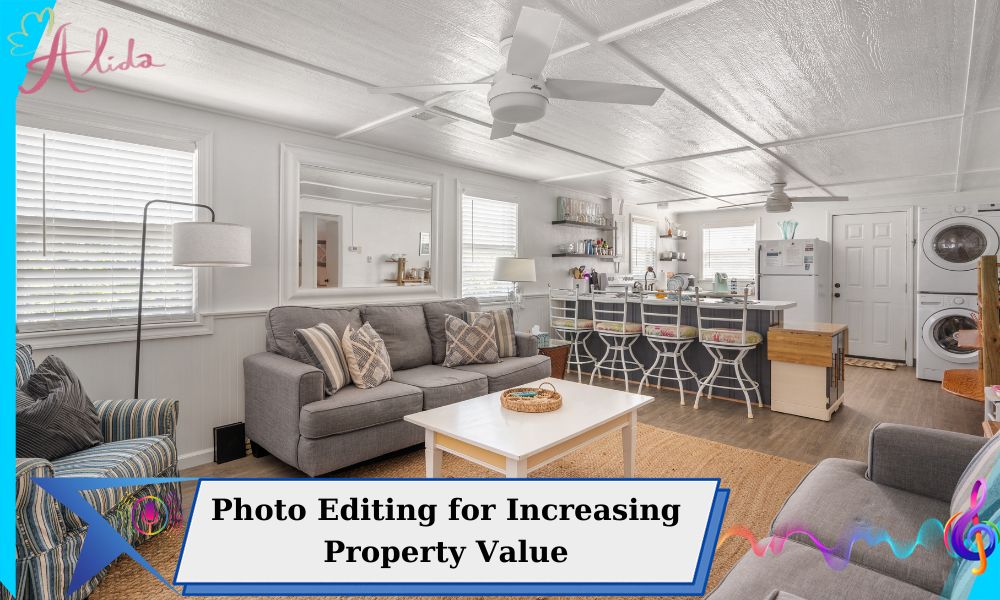
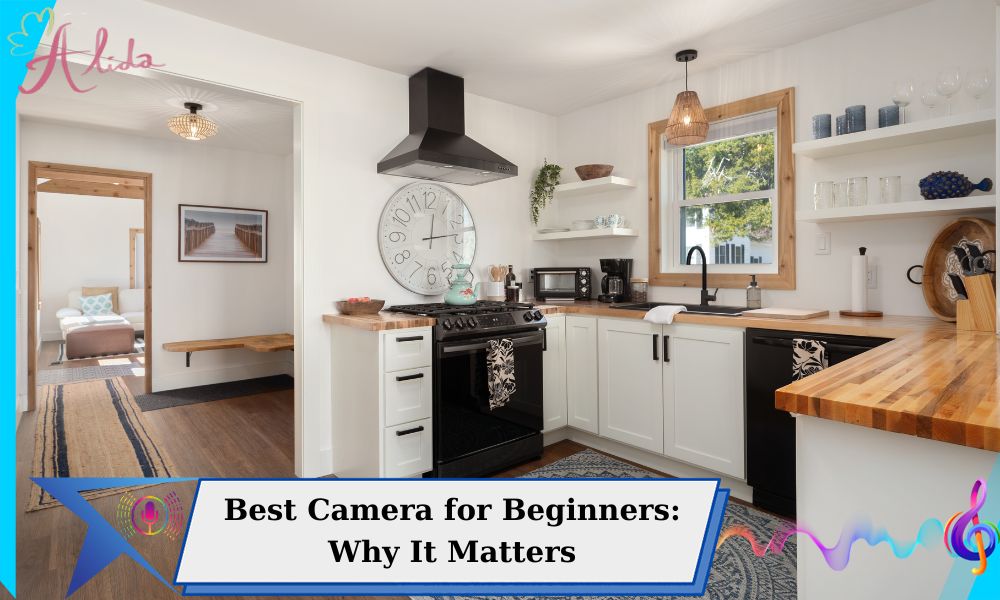
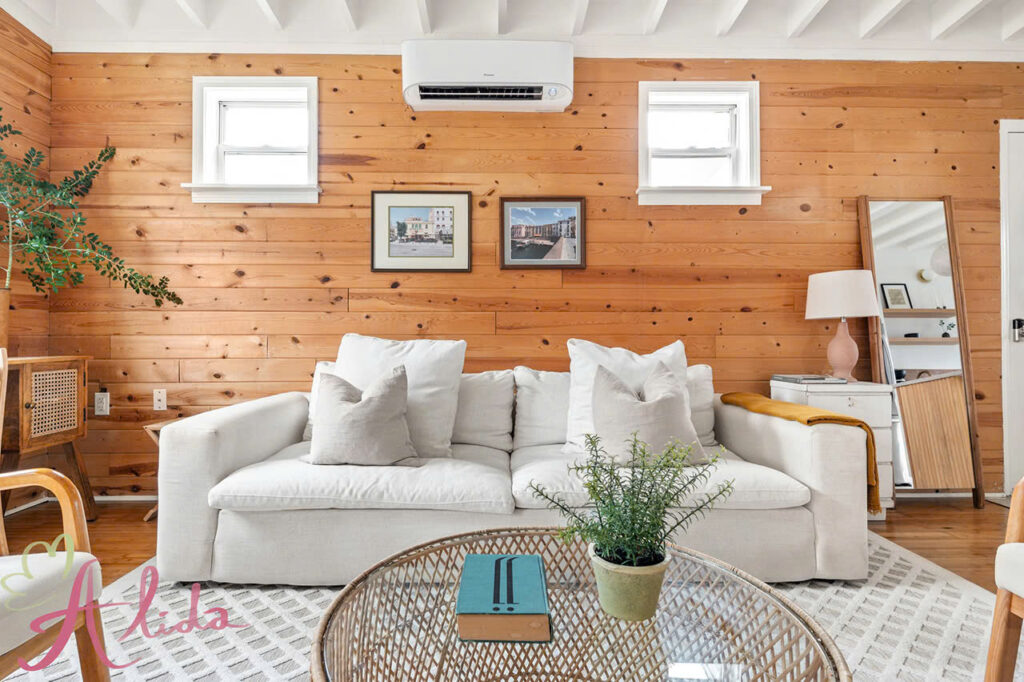
The quality of images in real estate listings can make or break a sale. Buyers often form their first impressions of a property based on the photos they see online, and poorly lit or dull images can turn potential buyers away. Photo editing allows you to enhance the natural beauty of a property, making it appear more inviting and professionally presented.
Proper photo editing can significantly improve a property’s visual appeal, helping to capture the attention of prospective buyers. Through techniques such as adjusting exposure, fine-tuning colors, and enhancing details, a well-edited photo can convey the best aspects of a property, increasing its perceived value. Additionally, using the right photo editing tools and techniques can ensure that the lighting, colors, and overall composition of an image are consistent, giving your real estate images a polished, professional look.
Basic Steps in Real Estate Photo Editing
1. Adjusting Exposure and Brightness
One of the first steps in real estate photo editing is adjusting the exposure and brightness of the image. Proper exposure ensures that the photo is neither too dark nor too bright, which can lead to lost details. Enhancing the brightness can help to showcase the property’s features, especially in rooms that are naturally dark. By adjusting these settings, you can create a suitable balance between the light and shadow areas of the photo.
2. Using Color Editing Tools
Color correction is essential in real estate photography to ensure that the colors in the image are accurate and appealing. Fine-tuning the white balance removes any color cast caused by different lighting sources, making the image look more natural. Adjusting the saturation and contrast helps to enhance the vibrancy of the photo, ensuring that the property looks bright and welcoming without looking artificial.
3. Sharpening and Enhancing Sharpness
Sharpness plays a significant role in real estate photos. While it’s important to avoid over-sharpening, enhancing the sharpness of key details can improve the overall clarity of the image. This step helps highlight important features like furniture, textures, and architectural elements, ensuring that every part of the property looks crisp and defined.
4. Removing Blemishes and Imperfections
Minor blemishes, dust, or distractions can detract from the visual appeal of a real estate photo. Use the spot removal and cropping tools to eliminate imperfections and keep the focus on the property itself. Cropping can also help to improve composition by removing unnecessary elements, leading to a cleaner, more professional image.
5. Balancing Color and Lighting Across Rooms
In real estate photography, consistency is key. Ensure that the lighting and color temperature are balanced across different rooms in the property. This helps create a cohesive and polished look for the entire set of photos, ensuring that each image feels connected while still highlighting the unique characteristics of individual spaces.
Advanced Techniques in Real Estate Photography Editing
HDR (High Dynamic Range)
One of the most advanced techniques in real estate photography is HDR. HDR allows you to capture a wide range of light and dark areas in a single image. This technique involves combining multiple exposures of the same scene to create a final image with improved detail and balance in both the light and dark areas.
Real estate HDR is particularly useful in situations where there is high contrast between bright windows and darker interior spaces. By merging multiple exposures, HDR ensures that both the bright outdoors and the interior details are visible in a single, perfectly balanced image. This results in photos that are not only more visually appealing but also more true to life.
Creating 360-Degree Images for Real Estate
360-degree images offer potential buyers an immersive experience, allowing them to explore a property virtually. By creating and editing 360-degree photos, you can give clients the ability to experience the space as if they were physically there. This technique is becoming increasingly popular in the real estate industry as it provides an interactive and engaging way for buyers to view properties remotely.
Editing Shadows and Lighting
Shadows and lighting play a huge role in the mood and overall appeal of a real estate photo. In some cases, rooms may appear too dark or too bright, leading to an unrealistic representation of the space. Use editing tools to adjust shadows and lighting, ensuring that each room is well-lit and the lighting matches the natural flow of the space.
Sky Replacement
Sometimes, the sky in a photo may appear overcast, gray, or unappealing, which can negatively impact the overall aesthetics of the image. Sky replacement allows you to swap the sky with a brighter, more dynamic one, creating a more pleasant atmosphere. This technique is particularly useful in outdoor property shots and can enhance the property’s curb appeal.
Tips for Capturing Effective Real Estate Photos Before Editing
While photo editing plays a significant role in real estate photography, the quality of the raw photos you capture is equally important. Here are some tips for capturing better real estate photos before you begin editing:
- Choose the Right Time to Shoot (Golden Hour): The golden hour, just after sunrise and before sunset, provides soft, warm lighting that enhances the natural beauty of the property.
- Use the Right Equipment and Software: A wide-angle lens can help capture more of the room, and software like Lightroom can assist in fine-tuning your photos during editing.
- Ensure the Space Is Clean and Tidy: A clean, clutter-free space will look more appealing in photos, allowing buyers to focus on the property’s features.
- Arrange Furniture and Interiors: Properly arranging furniture and decor can make rooms look more inviting and spacious, improving the visual appeal of the photo.
Real Estate HDR: Best Editing Software & Tools
To achieve high-quality real estate HDR images and other advanced editing techniques, use the best software tools available:
- Adobe Lightroom: Great for color correction, exposure adjustments, and general photo enhancement.
- Adobe Photoshop: Ideal for in-depth editing, including HDR merging, sky replacement, and adding special effects.
- Photomatix Pro: A powerful tool for creating HDR images by blending multiple exposures.
- Luminar AI: A user-friendly editing tool that uses artificial intelligence to make quick adjustments.
Conclusion
Photo editing is essential in real estate photography, with techniques like HDR helping create professional images that attract buyers and make listings stand out. Mastering editing skills and using the right tools can greatly enhance your property photos.
For expert real estate photo editing, Alida offers high-quality services tailored to real estate photographers. Contact us at photonews121@gmail.com to get started.

