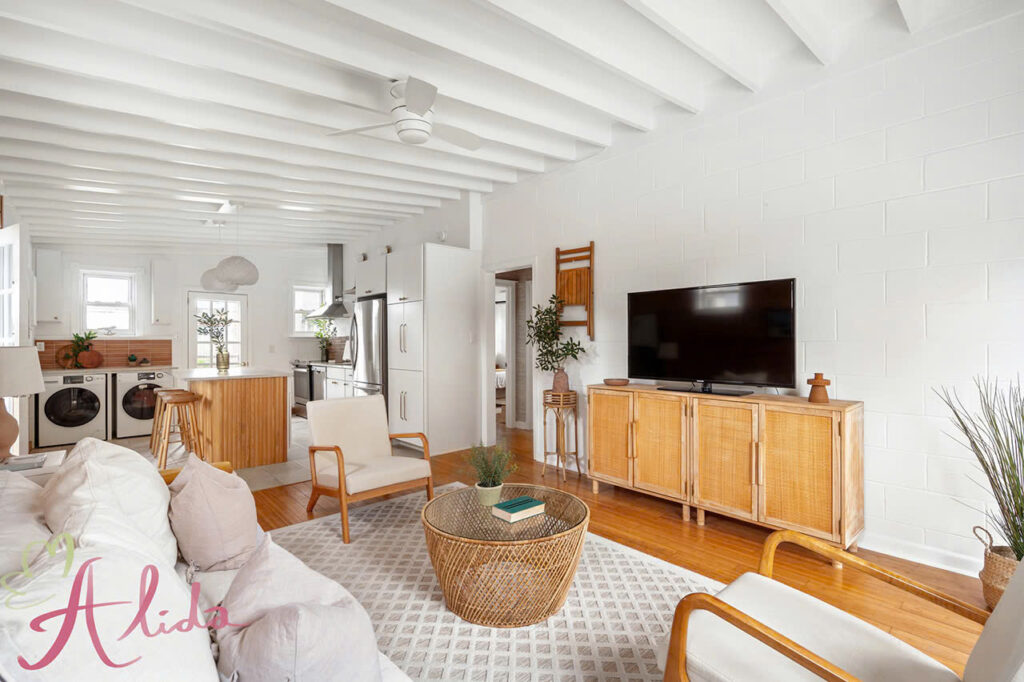
In today’s competitive real estate market, high-quality images are vital for capturing the attention of buyers. Using real estate photography editing tips, a well-edited photo can make a home look bright, spacious, and inviting, prompting potential buyers to explore further. With so much on the line, expertly edited images allow properties to stand out and help clients visualize themselves in the space.
Editing property photos goes beyond simple visual enhancements; it’s about crafting a story. Properly edited images can emphasize key features, optimize lighting, and set the right atmosphere, creating a memorable viewing experience.
7 Real Estate Photography Editing Tips
Let’s dive into seven essential real estate photography editing tips that can make a significant difference in how a property is perceived:
- Adjust Brightness and Contrast
Proper adjustments to brightness and contrast help bring out a room’s natural light, creating a more dynamic and attractive photo. Increased brightness can make rooms feel airy, while contrast adjustments add definition to the image, enhancing the overall visual appeal. - Color Balance
Adjusting color balance is essential to achieving natural tones and enhancing the overall look. Cooler tones work well in modern spaces, while warmer hues can make a home feel cozy and inviting. Accurate color balance ensures that the room’s colors are true to life, helping potential buyers visualize the property as it would appear in person. - Enhance Detail
Use the sharpening tool sparingly to bring out important details like textures in wood or architectural features. Slight sharpening on focal points adds a level of depth, making the image more captivating without appearing too edited. - Remove Unwanted Objects
Removing distractions like personal items, clutter, or minor imperfections can improve the photo’s professional quality. Tools like the clone stamp or healing brush in Photoshop or Lightroom help eliminate unwanted items that may take focus away from the room itself. - Merge HDR Images
HDR (High Dynamic Range) merging combines several shots taken at different exposures to capture a full range of highlights and shadows. This technique is ideal for showing rooms with windows or areas with varying light conditions, as it balances brightness without sacrificing detail. - Reduce Noise
Noise often appears in photos taken in low light. Reducing noise makes the image look cleaner and more polished, especially in shadowy areas. However, be cautious with noise reduction; overdoing it can lead to a loss of detail and make the image appear overly smooth or artificial. - Sharpen Key Areas
Selectively sharpening specific areas, such as countertops, furniture edges, or unique architectural elements, can draw attention to the most important aspects of a room. This selective sharpening technique guides the viewer’s eye to essential details, enhancing the overall appeal of the space.
Top 5 Real Estate Photography Editing Tips: Best Software
For those seeking professional results, here are five of the most effective software programs for real estate photo editing:
- Adobe Photoshop: Known for its powerful editing capabilities, Photoshop is ideal for detailed edits, such as object removal and advanced color correction.
- Adobe Lightroom: Perfect for batch editing, Lightroom offers easy adjustments for light, color, and exposure, making it highly efficient for processing multiple images.
- Fotogenic: With its user-friendly interface, Fotogenic provides a range of tools specific to real estate photography, making it an excellent choice for both beginners and professionals.
- GIMP: As a free and open-source alternative, GIMP offers various photo editing tools that can handle basic to advanced edits.
- Skylum Luminar: Integrated with AI tools, Luminar provides fast, high-quality edits with features tailored to real estate photo enhancements.
Real Estate Photography Editing Tips: Using Photoshop and Lightroom
Combining Photoshop and Lightroom can yield impressive results in real estate photography. Lightroom is ideal for initial edits like adjusting light, exposure, and color balance across multiple images. In contrast, Photoshop excels at fine-tuning details, such as removing unwanted objects or applying more precise edits to enhance certain aspects of a room.
A recommended approach is to start with basic adjustments in Lightroom, then export images to Photoshop for more detailed retouching. This workflow allows you to get the most out of each software’s strengths, ensuring that each photo is polished and impactful.
Quick and Effective Real Estate Editing Tips
- Use Presets and Templates
Presets can save time and ensure consistency. Many professional editors create or download presets for different lighting conditions, styles, and rooms to streamline their editing process. - Establish an Efficient Workflow
Editing in bulk requires organization. Develop a systematic workflow for importing, editing, and exporting images to save time and maintain quality across multiple photos. - Incorporate Plugins and Support Tools
Plugins designed for real estate photography can enhance workflow and add functionality. Consider plugins that simplify HDR merging, noise reduction, and lens correction.
Common Mistakes in Real Estate Editing and How to Avoid Them
- Over-editing: Applying excessive saturation or contrast can make images look artificial. Aim for subtle enhancements that maintain the image’s natural feel.
- Improper Light and Color Balance: Keep lighting and colors as natural as possible to reflect the property accurately.
- Excessive Noise Reduction: Over-smoothing images can lead to a loss of detail, so apply noise reduction selectively.
Conclusion: The Value of Professional Real Estate Photo Editing
Professional real estate photography editing can turn ordinary photos into powerful marketing tools. High-quality edits highlight a property’s best features and create an inviting atmosphere that draws buyers in. Whether you’re a beginner or an experienced photographer, mastering these editing techniques can enhance your work and attract more clients.
For premium real estate photo editing, consider Alida’s professional services. Our team specializes in making your property photos stand out, combining artistry with technical expertise. For inquiries, contact us at photonews121@gmail.com.


