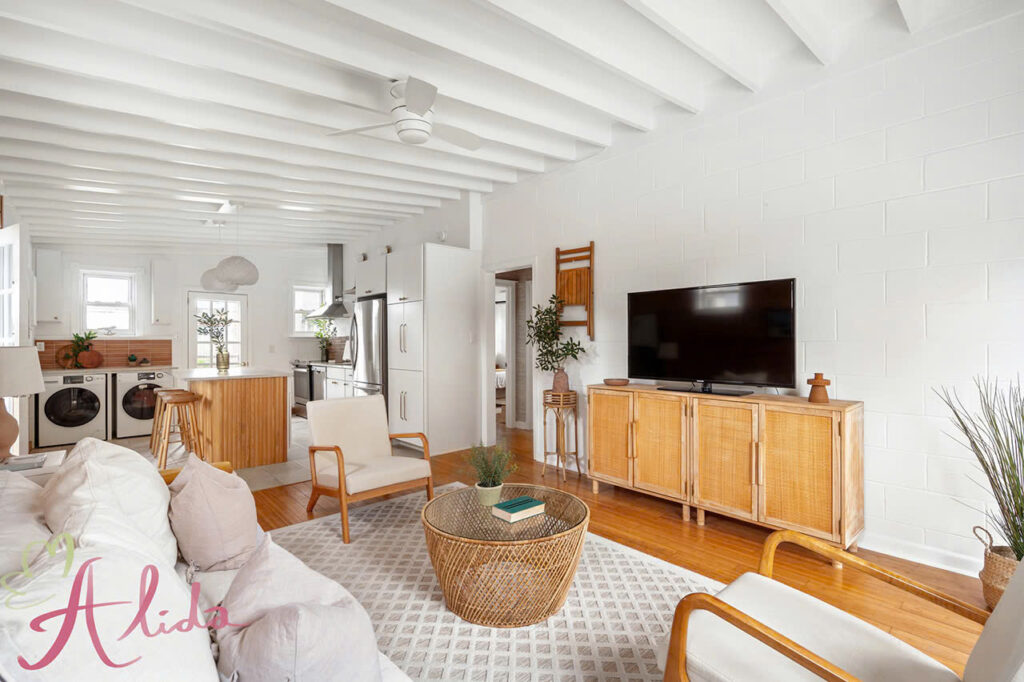
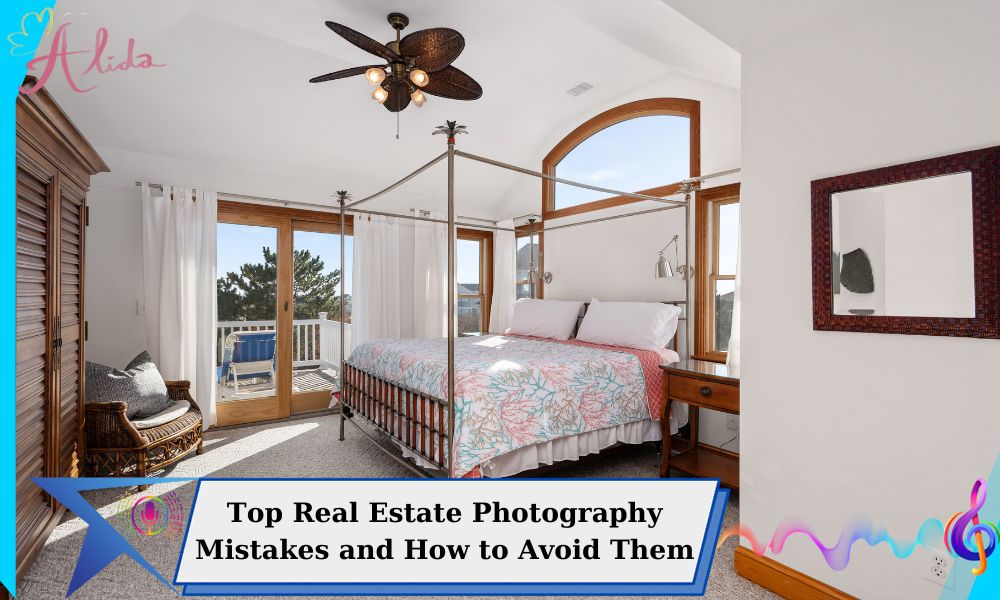
In real estate, the first impression often starts with the images. Stunning property photos not only attract potential buyers or renters but can also significantly impact a sale or lease. Real estate photography has become an essential part of the marketing strategy, and poor-quality images can lead to missed opportunities. In this article, we will explore the most common mistakes in real estate photography and how to avoid them, ensuring your property photos make the best possible impression.
Common Real Estate Photography Mistakes
1. Lack of Preparation Before the Shoot
Mistake: One of the most common mistakes is failing to prepare the property properly before the photo shoot. Clutter, untidy spaces, and unnecessary objects can ruin the aesthetic appeal of a home.
How to Avoid: Ensure the space is neat and organized. Remove clutter, unnecessary items, and personal belongings. This not only creates a clean, inviting atmosphere but also allows the buyer to visualize themselves in the space.
2. Poor Lighting Conditions
Mistake: Shooting in low light or harsh lighting conditions can lead to photos that are either too dark or overexposed. This can negatively impact the quality of the images.
How to Avoid: Make use of natural light as much as possible. Open curtains and blinds, and ensure the room is well-lit. In low-light situations, use flash or external lighting equipment. Adjust the ISO settings to balance the exposure.
3. Using Inappropriate Angles
Mistake: Shooting from an unflattering angle can make the space appear cramped or unappealing.
How to Avoid: Take photos from higher angles or wide perspectives. A good rule of thumb is to shoot from the corner of the room or at a height that shows the full depth and openness of the space.
4. Not Using the Right Equipment
Mistake: Using subpar equipment can limit the quality of your real estate photos. Basic smartphones or cameras may not deliver the professional results expected by clients.
How to Avoid: Invest in a high-quality DSLR or mirrorless camera with a wide-angle lens. Use a tripod to prevent blurry images, especially in low light conditions.
5. Over-editing the Photos
Mistake: Over-editing can make a property look unnatural. Over-saturation, extreme filters, and heavy adjustments can alter the property’s actual appearance.
How to Avoid: Edit the photos carefully, enhancing natural features like lighting and color balance without overdoing it. Aim for a natural look that accurately represents the property.
6. Ignoring Small Details
Mistake: Small distractions like power outlets, cords, or personal items can detract from the overall appeal of a property.
How to Avoid: Before shooting, walk through the space and check for any distracting items. Remove any visible clutter or objects that could draw attention away from the main features.
7. Not Capturing All Key Areas
Mistake: A common mistake is focusing only on certain areas like the living room and neglecting other important spaces such as bathrooms, kitchens, or hallways.
How to Avoid: Ensure you capture every room and key feature of the property. A comprehensive photo set will give potential buyers a complete picture of the home.
8. Sticking to Rigid Angles
Mistake: Using the same fixed angles for all your shots can make the photos appear monotonous and uninteresting.
How to Avoid: Experiment with different angles and perspectives to add variety to your shots. This can help emphasize the spaciousness and unique features of each room.
9. Not Utilizing Editing Software
Mistake: Some photographers neglect to enhance their photos using editing tools, resulting in flat and dull images.
How to Avoid: Use editing software like Lightroom or Photoshop to fine-tune exposure, contrast, and colors. However, be cautious not to over-edit, as this can make the photos look unrealistic.
10. Taking Too Many or Too Few Photos
Mistake: Either flooding the listing with too many images or having too few can be a mistake. Too many photos can overwhelm potential buyers, while too few may leave them wanting more.
How to Avoid: Strike a balance by providing a well-rounded selection of high-quality images. Ensure the photos cover all essential areas of the property but avoid redundancy.
How to Avoid Common Real Estate Photography Mistakes
1. Prepare Thoroughly Before the Shoot
Before taking photos, inspect the property for any items that need to be removed or adjusted. Ensure the lighting is optimal, and the space looks tidy and inviting.
2. Use Professional Tools
Invest in a professional camera and tripod. Wide-angle lenses and external lighting sources can significantly enhance the quality of your photos.
3. Edit Photos Tastefully
Use photo editing software to improve the images without overdoing it. Keep the adjustments subtle, focusing on enhancing the natural beauty of the property.
4. Experiment with Angles
Don’t settle for one or two angles. Try various shots to highlight the best features of each room and provide a well-rounded perspective of the property.
Conclusion
Avoiding common real estate photography mistakes is crucial for showcasing properties in the best possible light. High-quality images not only attract more potential buyers but also help establish trust and credibility. By following the tips outlined above, you can improve the effectiveness of your real estate photos, making them a valuable tool in your marketing strategy. With practice and attention to detail, you can avoid these common pitfalls and create stunning images that will help you sell properties faster.
Alida Real Estate Photo Editing Service For professional photo editing services, consider Alida’s Real Estate Photography Editing. We specialize in enhancing property photos to highlight their best features, providing the final touch to ensure they stand out in a competitive market.
Contact us via email at photonews121@gmail.com for more information or to request a quote.

